Outcome
You will create a correctly configured draft and arrive in the document wizard with the right package, asset type, and design.
Navigation path
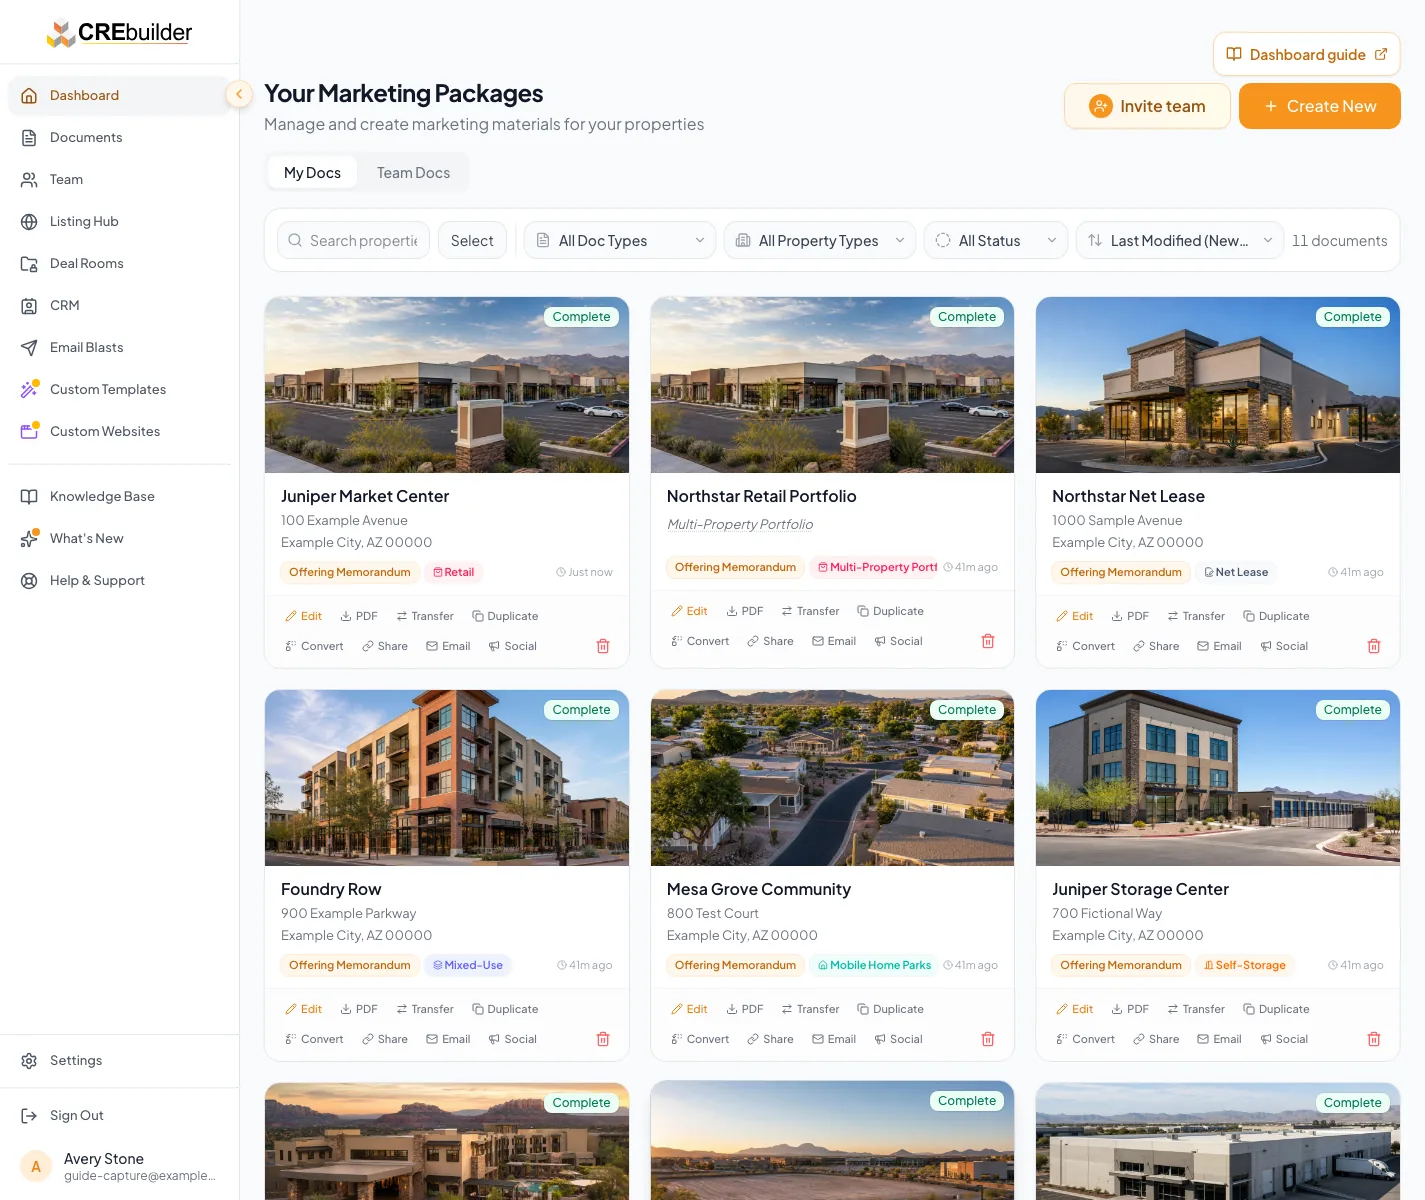
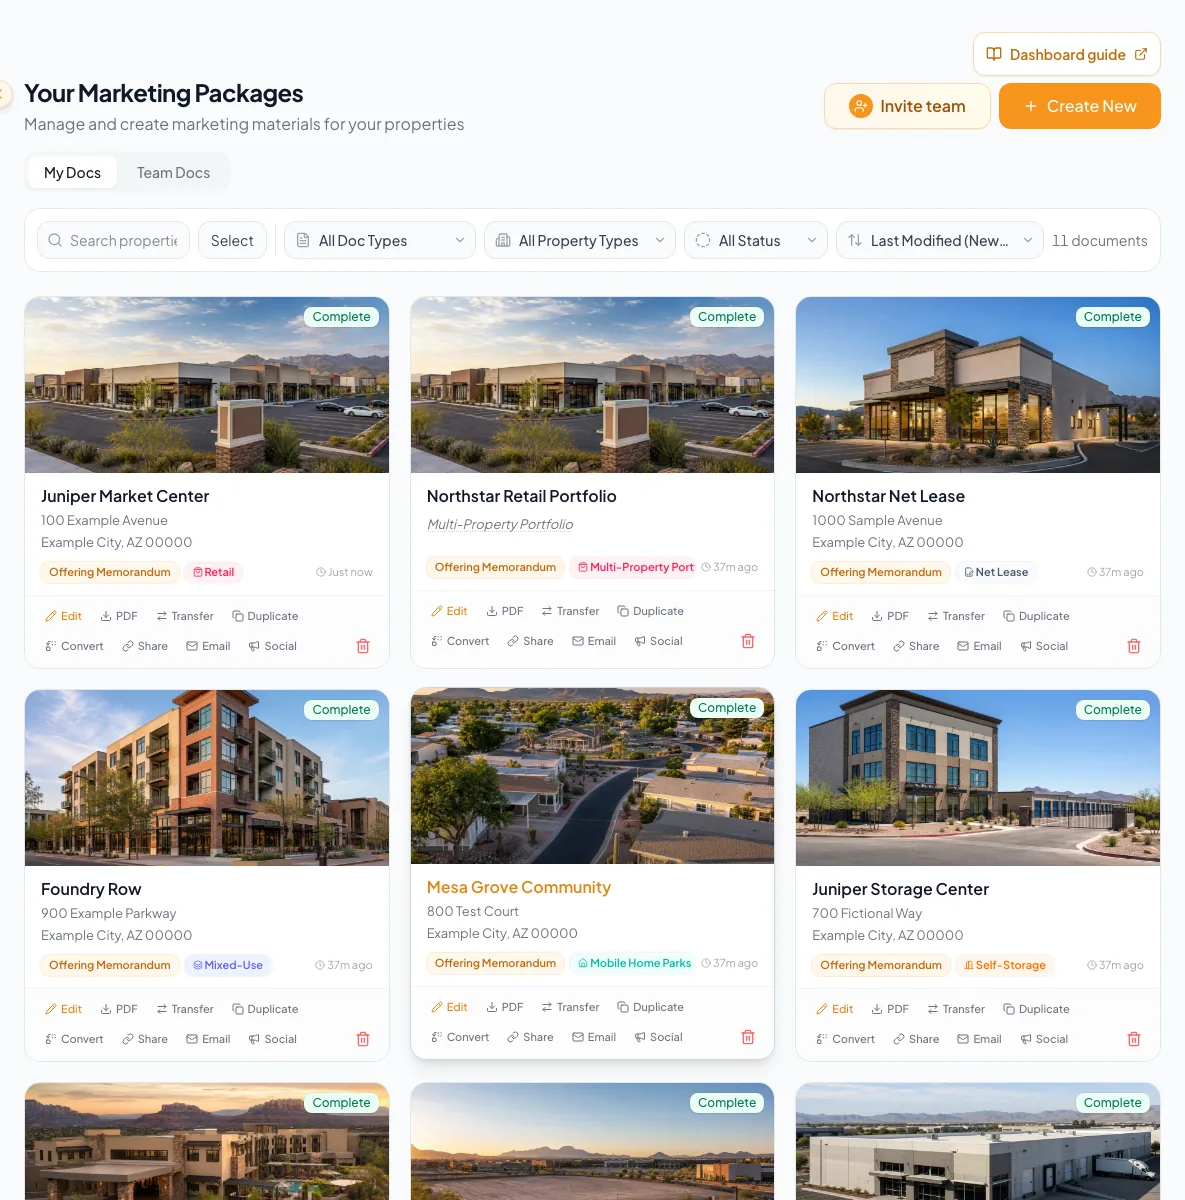
Dashboard or public CREBuilder site > Create New or Get Started Free
Access
Public visitors can configure a document before creating an account. Signed-in customers start from Dashboard. Document limits and template availability follow the current plan.
On this page
What you will accomplish
Short animated UI capture. No audio.
Goals
- Choose the correct package
- Set the correct property structure and type
- Open a new draft in the wizard
Creation choices
Each choice narrows the wizard and output that CREBuilder prepares.
Package
Choose the audience and deliverable
Property structure
Single property or supported multi-property setup
Property type
Controls fields and metrics
Template
Controls visual presentation
- PackageProperty structure
- Property structureProperty type
- Property typeTemplate
Before you start
Data, sources, and access to prepare
- An existing CREBuilder account, or an email address for the final public account-creation step
- The property address
- A clear goal for the marketing document
Prepare these details
- Know whether the assignment is for sale, lease, or valuation
- Know whether the deliverable covers one property or several
- Have an approved company logo and preferred brand color if available
Complete the task
- 1
Open document setup
Dashboard or public CREBuilder site
Select the state-specific entry control, labeled Create New for signed-in users and Get Started Free for signed-out visitors.
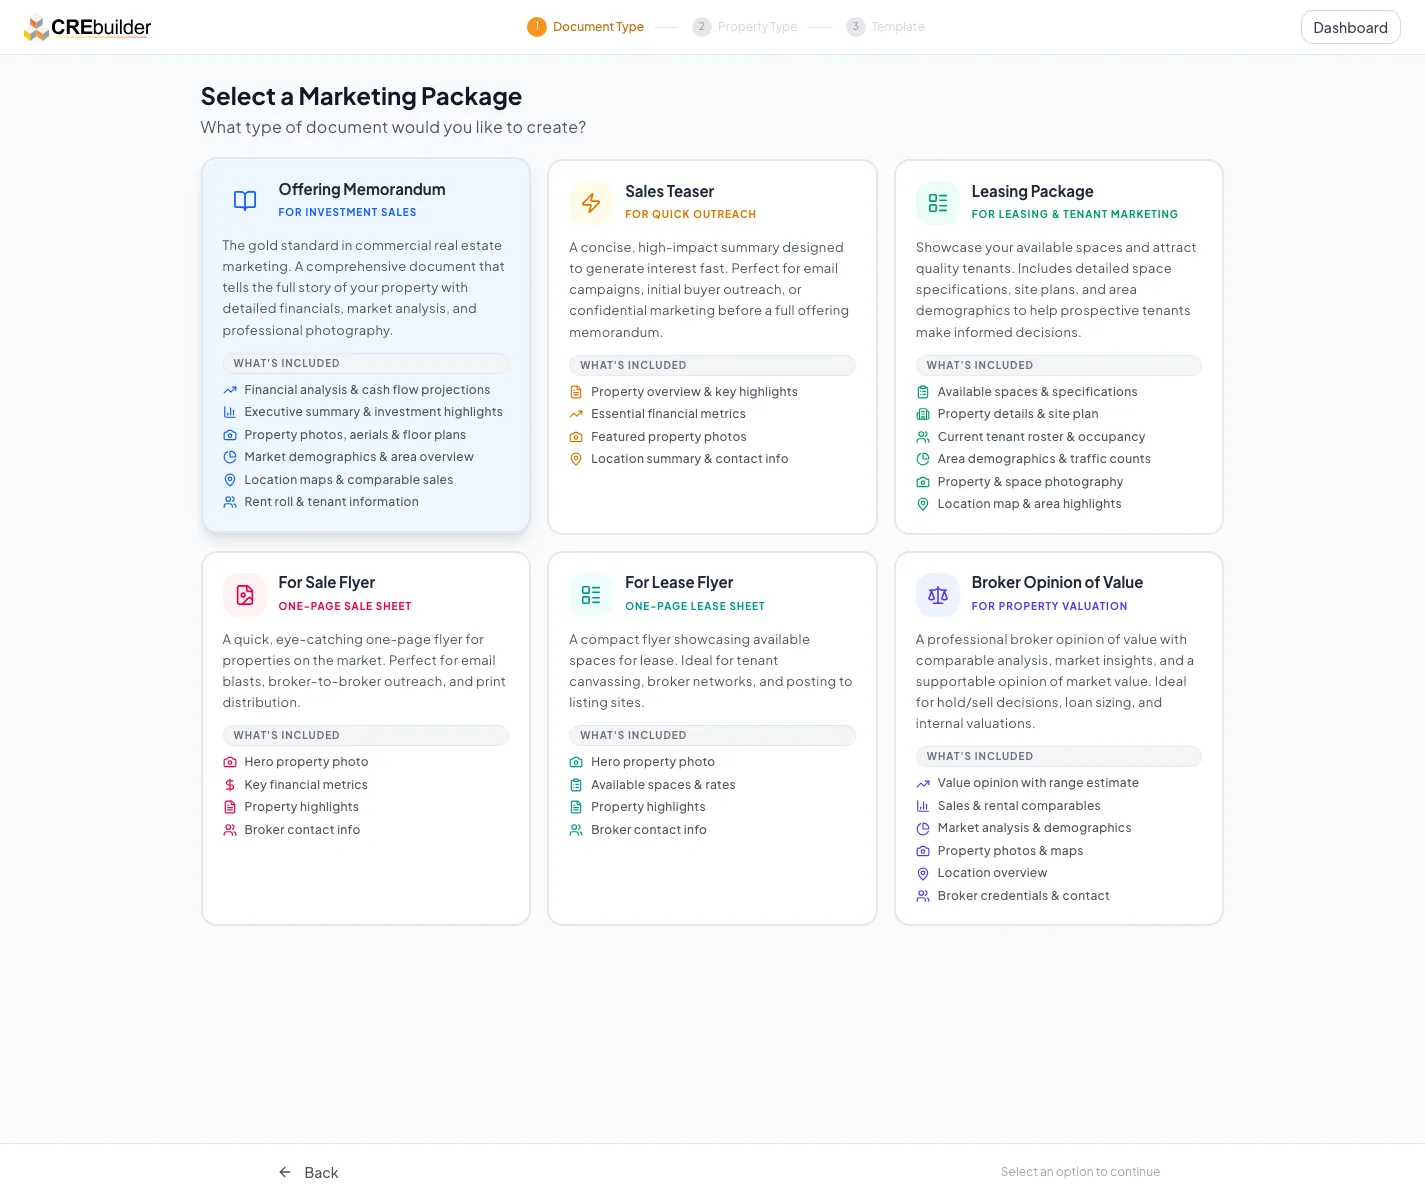
Expected result: The package-selection screen opens.
If this does not happen: If the signed-in Create New control is unavailable, check the account document limit or ask an account administrator to verify access. If the public control is absent, open the Pricing page and select a plan to start.
- 2
Choose the package
Get Started > Package
Select the one package that matches the assignment.
Expected result: CREBuilder advances to the property-structure question or the next supported setup screen.
If this does not happen: Return to Package and compare the six package descriptions if the selected output does not match the intended audience.
- 3
Choose the property structure
Get Started > Property structure
Select Single Property or Multiple Properties when the choice appears.
Expected result: The setup records the correct single-property, multi-building, or portfolio path.
If this does not happen: If Multiple Properties is absent, confirm that the selected package supports it.
- 4
Choose the property type
Get Started > Property Type
Select the asset type that controls the primary fields and metrics.
Expected result: The selected property type is highlighted and the setup can continue.
If this does not happen: Use the Property Types guide before continuing if the asset could reasonably fit more than one type.
- 5
Choose the template
Get Started > Template
Select one available template.
Expected result: The selected design displays as the starting template.
If this does not happen: If a company template is missing, confirm that you are signed in to the correct workspace.
- 6
Continue from the template
Get Started > Template
Select the state-specific template action shown for the current session (Get Started / Continue).
Expected result: A signed-in user reaches the new draft. A signed-out visitor reaches Contact Information.
If this does not happen: If the action is unavailable, select a template and brand color. If the request fails, keep the selections unchanged and retry once after confirming the connection.
If you begin before signing in
A public visitor completes account creation after the shared package, property type, and template choices. No draft exists until Create Account & Package succeeds.
Complete the public visitor branch
- 1
Continue from the template
Get Started > Template
Select Continue.
Expected result: The Contact Information screen opens.
If this does not happen: If Continue is unavailable, select a template and brand color.
- 2
Enter the account and contact details
Get Started > Contact Information
Complete every required account and primary-contact field.
Expected result: The account-creation action becomes available.
If this does not happen: Correct the exact field highlighted by validation before continuing.
- 3
Create the account and package
Get Started > Contact Information
Select Create Account & Package.
Expected result: CREBuilder creates the account and opens the new draft.
If this does not happen: If the email already belongs to an account, use Already have an account? Sign In instead of creating a duplicate.
Package and setup reference
| Package | Best fit | Important setup note |
|---|---|---|
| Offering Memorandum | Full investment-sale presentation | Supports the broadest property, financial, and market story |
| Sales Teaser | Concise early-stage buyer outreach | Use when the audience needs a shorter summary |
| Leasing Package | Marketing available space | Prioritizes lease details and available space |
| For Sale Flyer | One-property sale handout | Designed for a concise single-property output |
| For Lease Flyer | One-property lease handout | Designed for a concise single-property output |
| Broker's Opinion of Value | Valuation presentation | Use valuation inputs and verify assumptions carefully |
Verify before you finish
- The draft name and address identify the intended property
- The package and property type match the assignment
- The wizard shows sections that make sense for the selected setup
Troubleshooting and next steps
The wrong wizard sections appear.
Likely cause: The package, property structure, or property type was selected incorrectly.
- Return to the setup flow before entering substantial data.
- Create a correctly configured draft if the current document cannot safely change that choice.
A template is not available.
Likely cause: The design may belong to another workspace, package, or plan.
- Confirm the signed-in workspace.
- Choose an available template and ask the workspace administrator about the missing design.
Final verification
- Get Started > Template: A signed-in user reaches the new draft. A signed-out visitor reaches Contact Information.
- Get Started > Template: The Contact Information screen opens.
- Get Started > Contact Information: The account-creation action becomes available.
- Get Started > Contact Information: CREBuilder creates the account and opens the new draft.
- No blocking warning, failed status, or unresolved validation message remains in the completed workflow.