Outcome
You will build a clean media library with usable source files assigned to the correct document purpose.
Navigation path
Documents > Open document > Images & Media
Access
Image controls are available to permitted document editors. Zones vary by package and template.
On this page
What you will accomplish
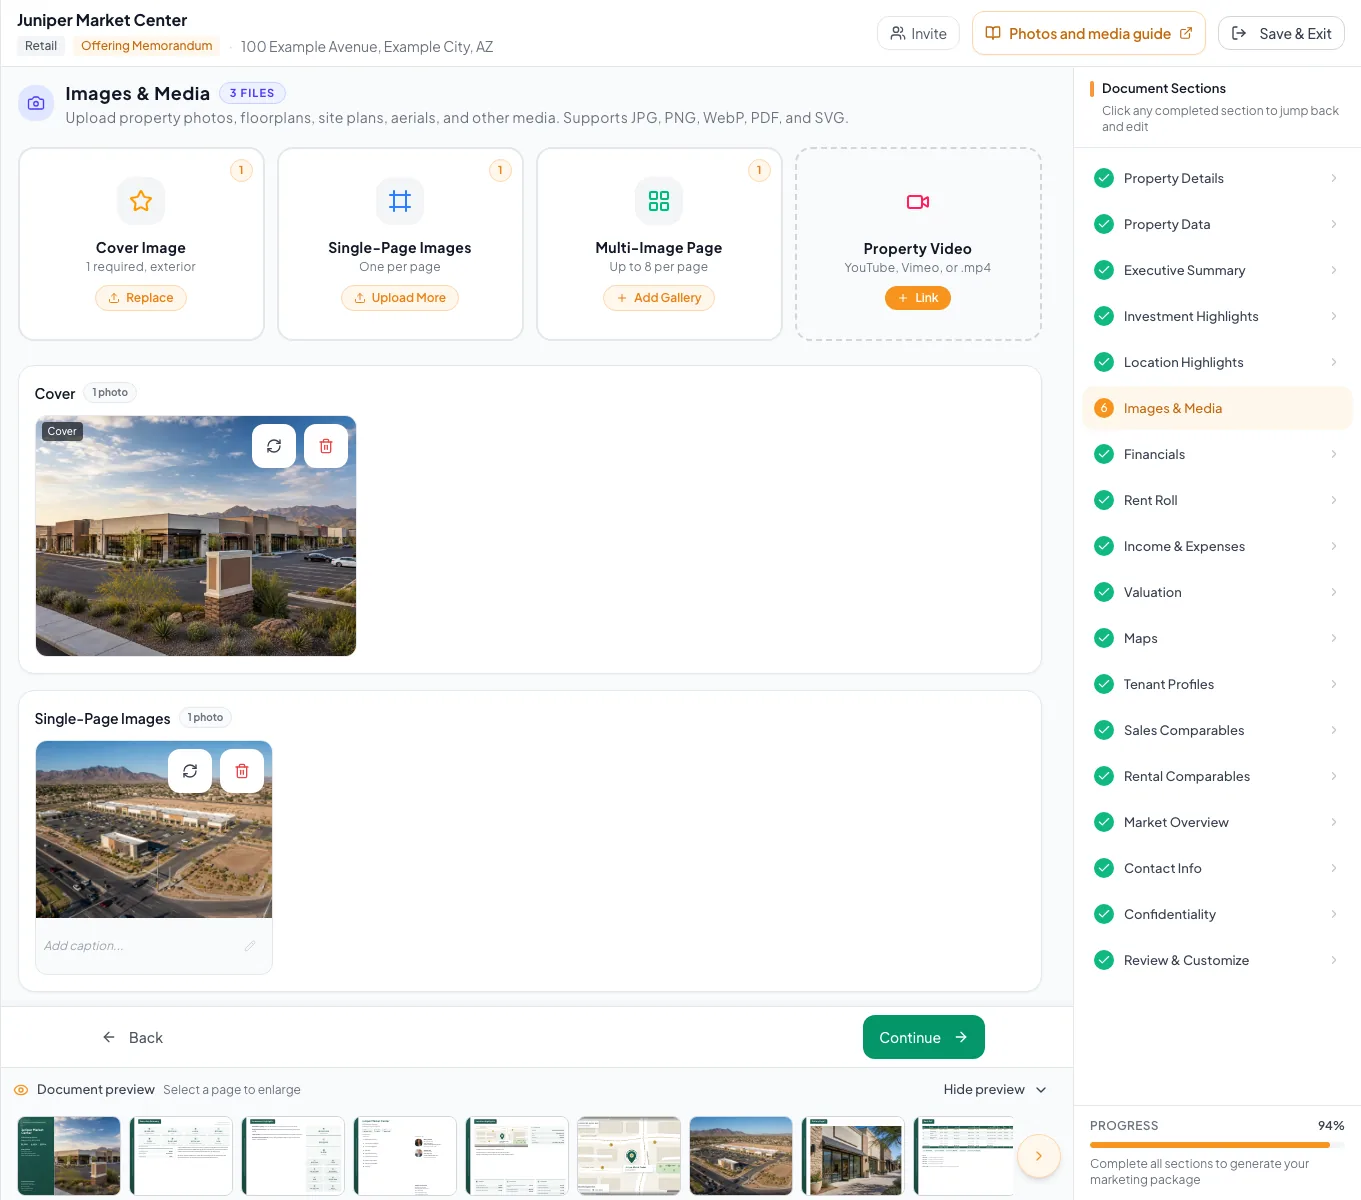
Goals
- Use publishable source files
- Upload into the intended zone
- Verify every image in the final layout
Image publishing path
An image is ready only after its rights, destination, processed thumbnail, and final placement are verified.
Approved source file
Rights and subject confirmed
Media zone
Choose cover, gallery, plan, or other purpose
Processed image
Wait for a usable thumbnail
Final placement
Inspect crop and legibility
- Approved source fileMedia zone
- Media zoneProcessed image
- Processed imageFinal placement
Before you start
Data, sources, and access to prepare
- Permission to edit the document
- Rights to use every uploaded file
- Images identified by intended use
Prepare these details
- Remove duplicate or outdated files
- Exclude confidential images from public marketing content
- Use descriptive filenames before uploading
- Prefer sharp originals over screenshots or compressed copies
Complete the task
- 1
Open Images & Media
Document Wizard navigation
Select Images & Media.
Expected result: The zones supported by the current package and template appear.
If this does not happen: Confirm the document package if expected zones are absent.
- 2
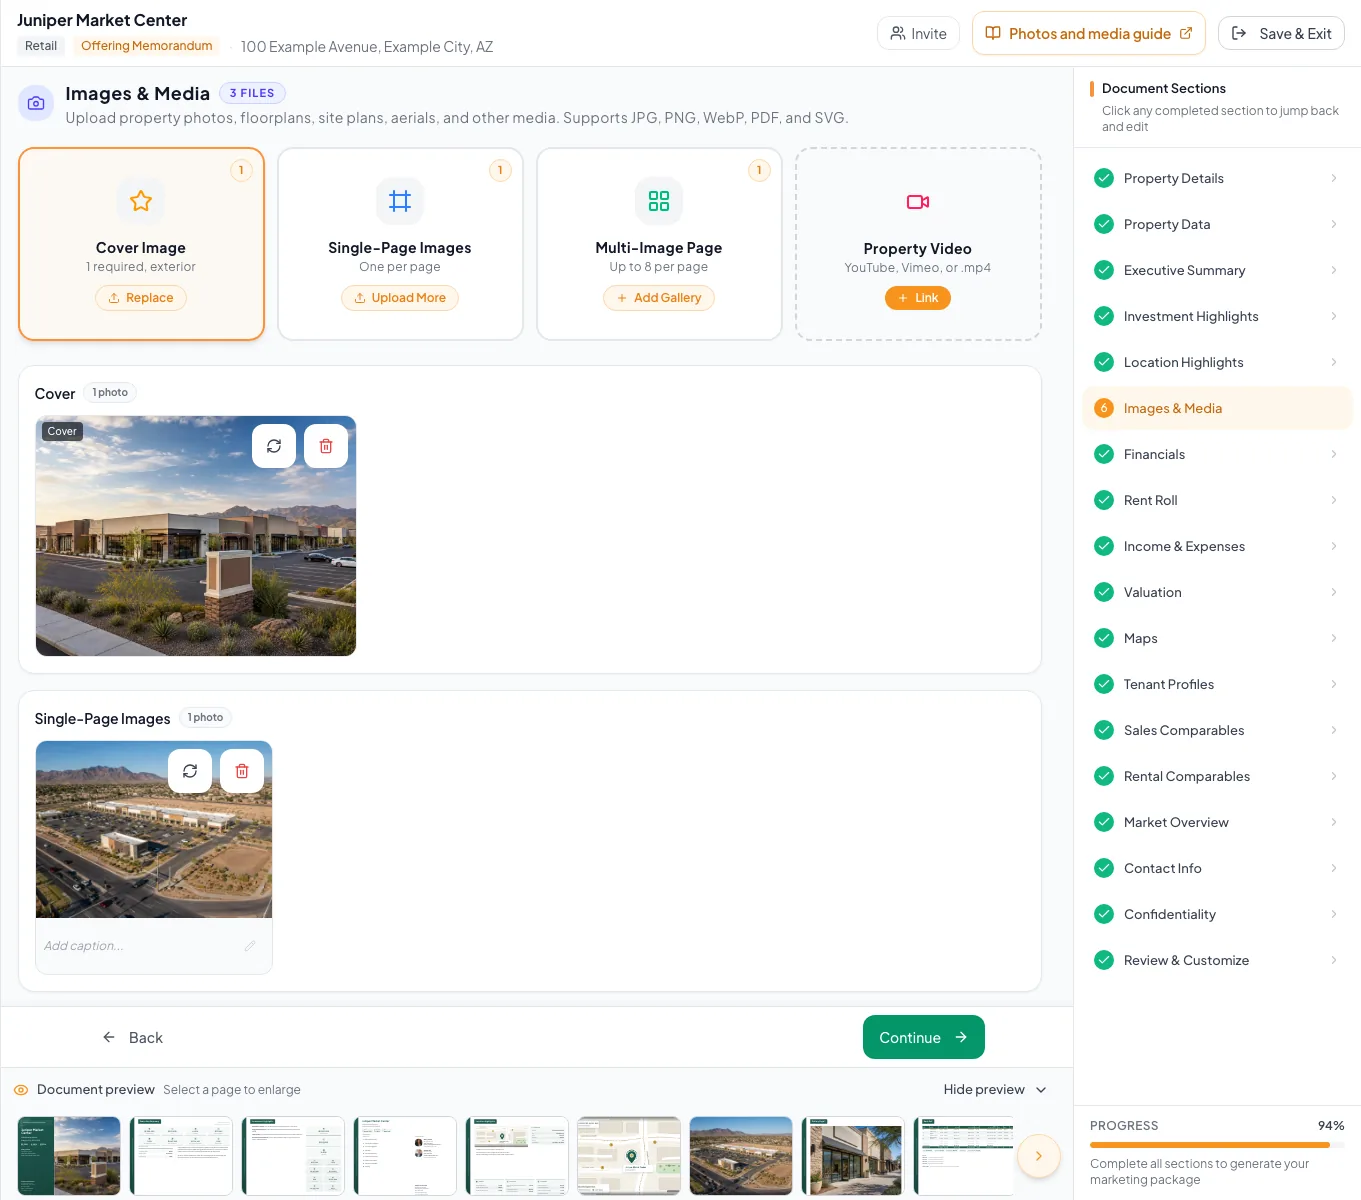
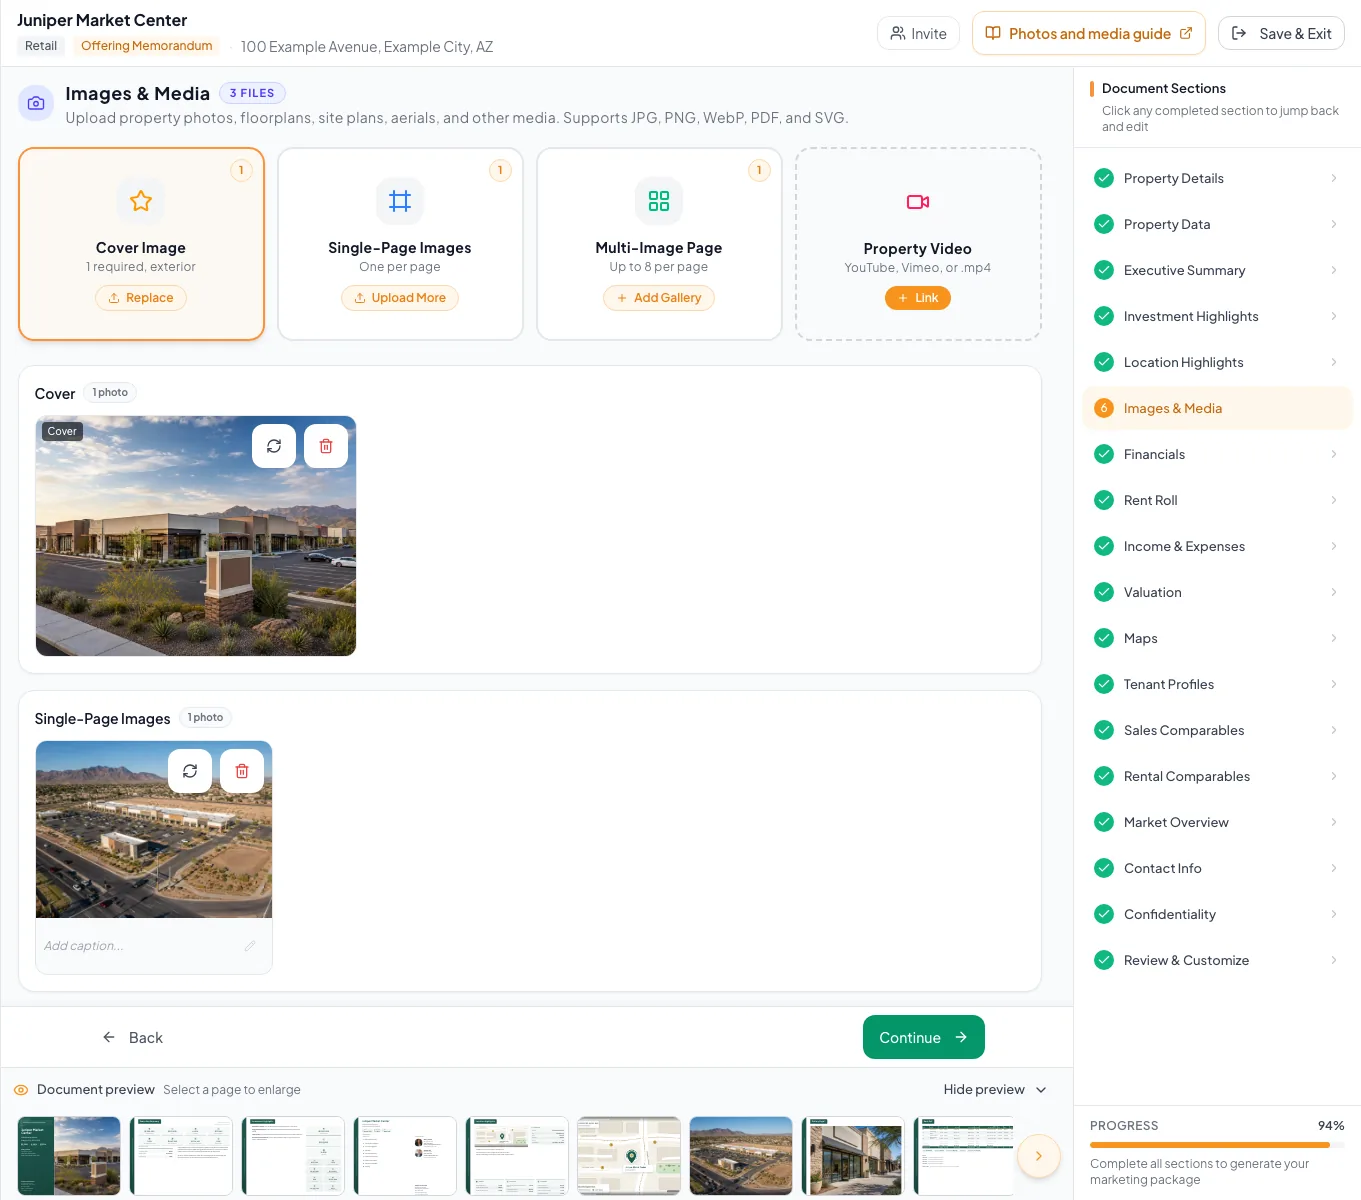
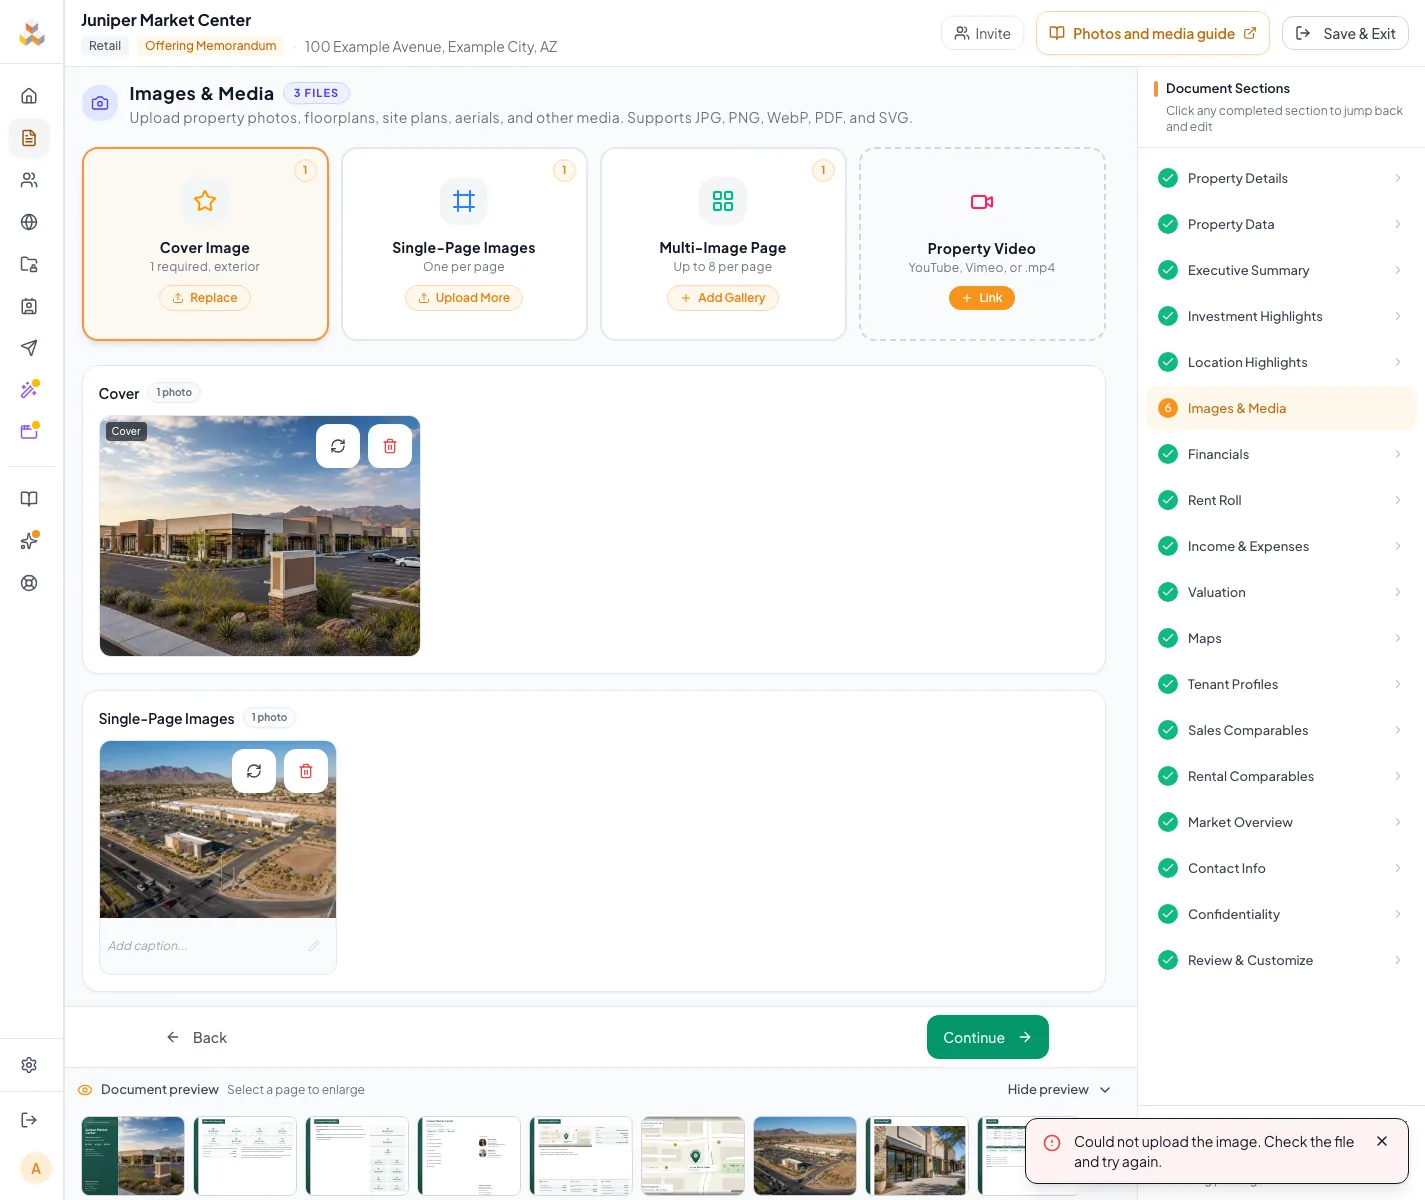
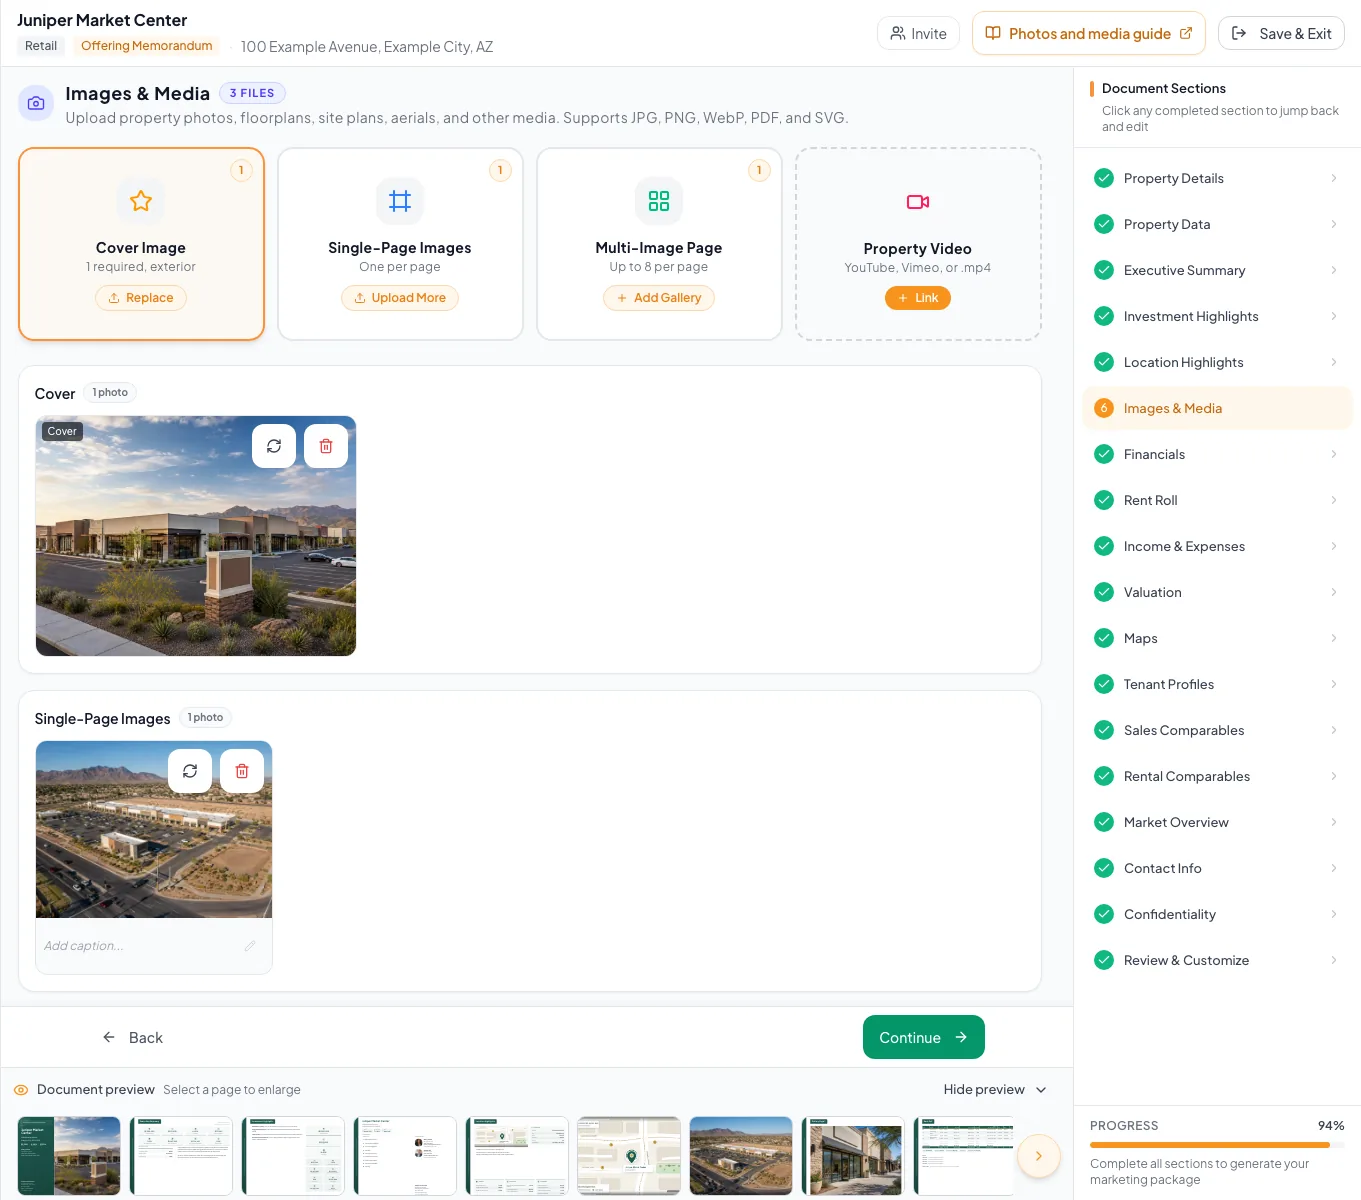
Choose one media zone
Images & Media
Select the upload action for the intended zone.
Expected result: A file picker opens for that zone.
If this does not happen: Use the zone reference before uploading if the same image could serve several purposes.
- 3
Choose the file
System file picker
Select one approved image, PDF, or supported visual file.
Expected result: CREBuilder begins processing the selected file.
If this does not happen: Use a supported format shown by the upload control if the file is rejected.
- 4
Wait for the thumbnail
Images & Media
Wait until the uploaded item displays a thumbnail.
Expected result: The file appears in the selected zone.
If this does not happen: Remove a blank or broken item and retry from the original file.
- 5
Inspect the image
Images & Media > image card
Open the image preview or edit control.
Expected result: The full image and available controls appear.
If this does not happen: Replace the source if it remains blurry or incorrectly oriented.
- 6
Check final placement
Review & Customize
Open every page that uses the uploaded image.
Expected result: The image belongs to the correct page and remains legible at normal size.
If this does not happen: Return to Images & Media to change its zone, source, or crop.
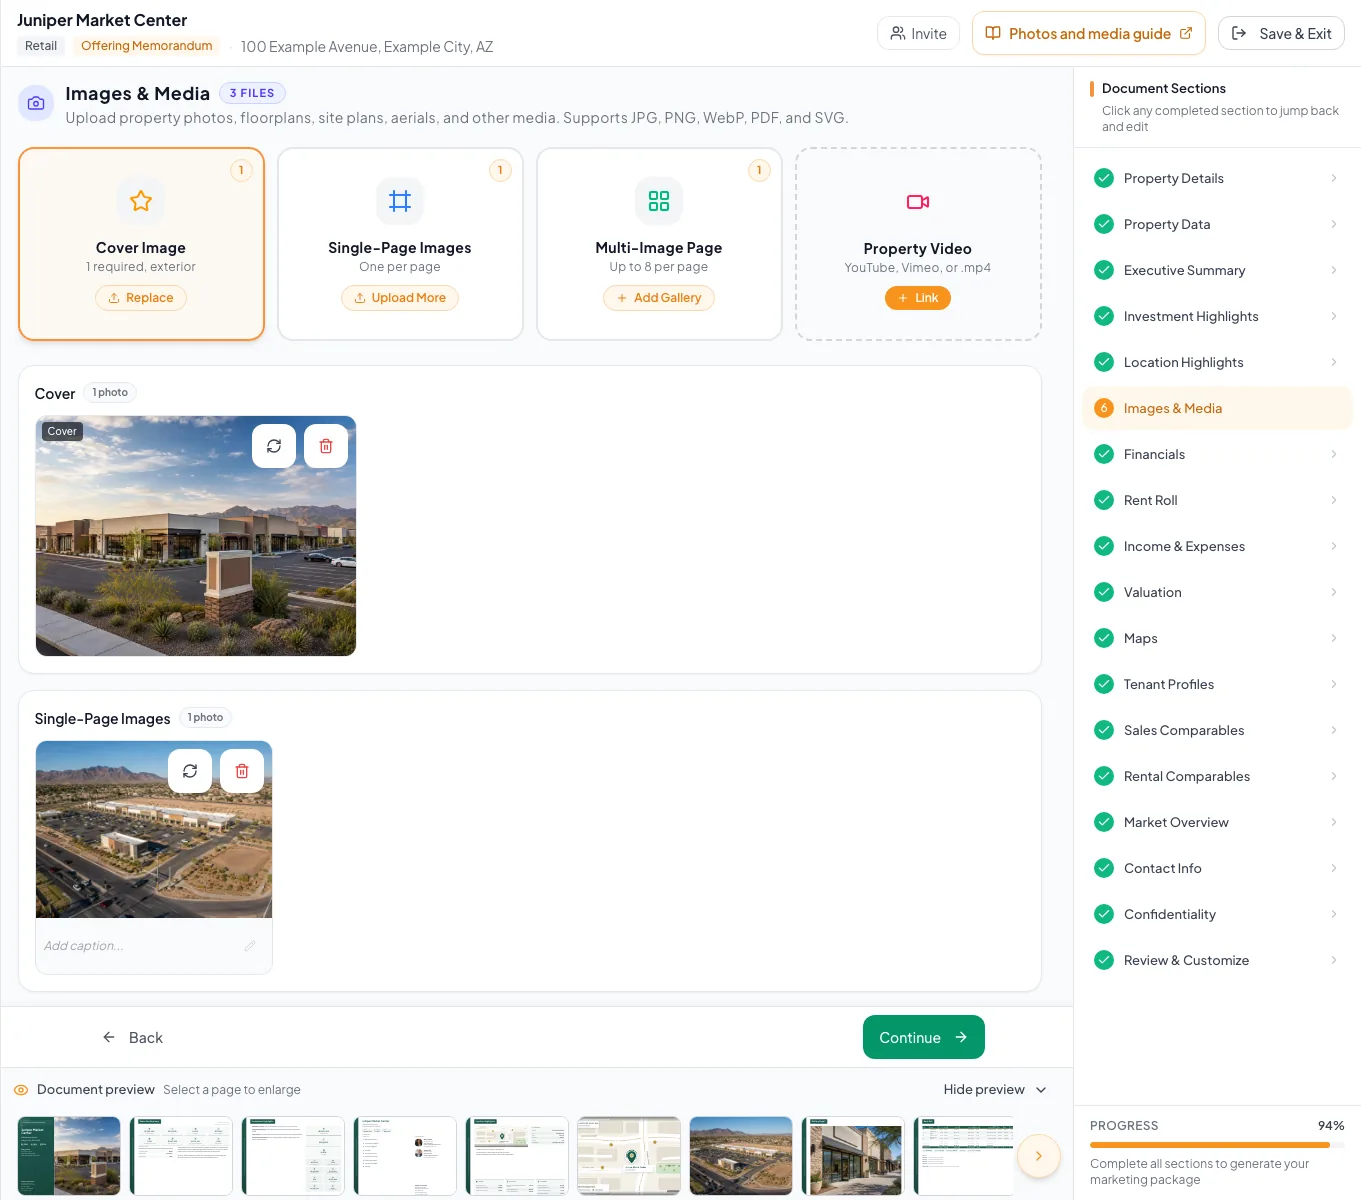
Media-zone reference
| Zone | Use | Check |
|---|---|---|
| Cover | Primary document hero | Strong crop and immediate property recognition |
| Full-page image | Aerial, site plan, floor plan, or feature image | Labels remain readable at page size |
| Gallery | A curated set of supporting photos | Consistent quality and logical order |
| Flyer body | The supported secondary flyer image | Complements rather than duplicates the cover |
| Property video | A supported external video link | Public playback and permission |
File review fields
| Field | Requirement | What it means | Format | Units | Save behavior | Downstream effect |
|---|---|---|---|---|---|---|
| Rights | Required | Permission to reproduce the file in the intended public or confidential output | Not applicable | Not applicable | Not stored as a separate CREBuilder field; verify permission before uploading the file. | Determines whether the image may lawfully remain in the document or public experience. |
| Resolution | Required | Enough source detail for the final display size | Source-image pixel dimensions | Pixels | Read from the uploaded file rather than entered separately; replace the upload to change it. | Low resolution can appear soft or pixelated in large image zones and PDFs. |
| Orientation | Recommended | Landscape, portrait, or plan orientation that fits the destination zone | Landscape, portrait, or plan | Not applicable | Inherent to the uploaded file; use crop or replacement controls for a different presentation. | Affects crop, subject visibility, and fit in the selected image zone. |
| Filename | Recommended | A human-readable identifier for source management | File name with supported extension | Not applicable | Captured from the selected file during upload; rename the source file before uploading when needed. | Helps editors identify and replace the correct source asset. |
Required means the field is needed to complete or support this workflow. Some screens allow a draft to save before every required item is complete. The steps and troubleshooting call out controls the product actively blocks.
Verify before you finish
- Every thumbnail loads
- Each file is in the intended zone
- No duplicate or confidential file remains
- Labels and plans are readable
- The final pages use the expected images
Troubleshooting and next steps
The upload is rejected.
Likely cause: The file type, size, encoding, or source may not meet the displayed rules.
- Use one of the formats listed by the current control.
- Export a fresh copy from the original source and retry.
The image is sharp in the source but soft in the PDF.
Likely cause: The uploaded copy may be compressed or too small for the zone.
- Replace it with the highest-quality approved original.
- Inspect the new PDF after replacement.
Final verification
- System file picker: CREBuilder begins processing the selected file.
- Images & Media: The file appears in the selected zone.
- Images & Media > image card: The full image and available controls appear.
- Review & Customize: The image belongs to the correct page and remains legible at normal size.
- No blocking warning, failed status, or unresolved validation message remains in the completed workflow.