Outcome
You will correct image presentation while preserving the intended document structure and verify the result everywhere the image appears.
Navigation path
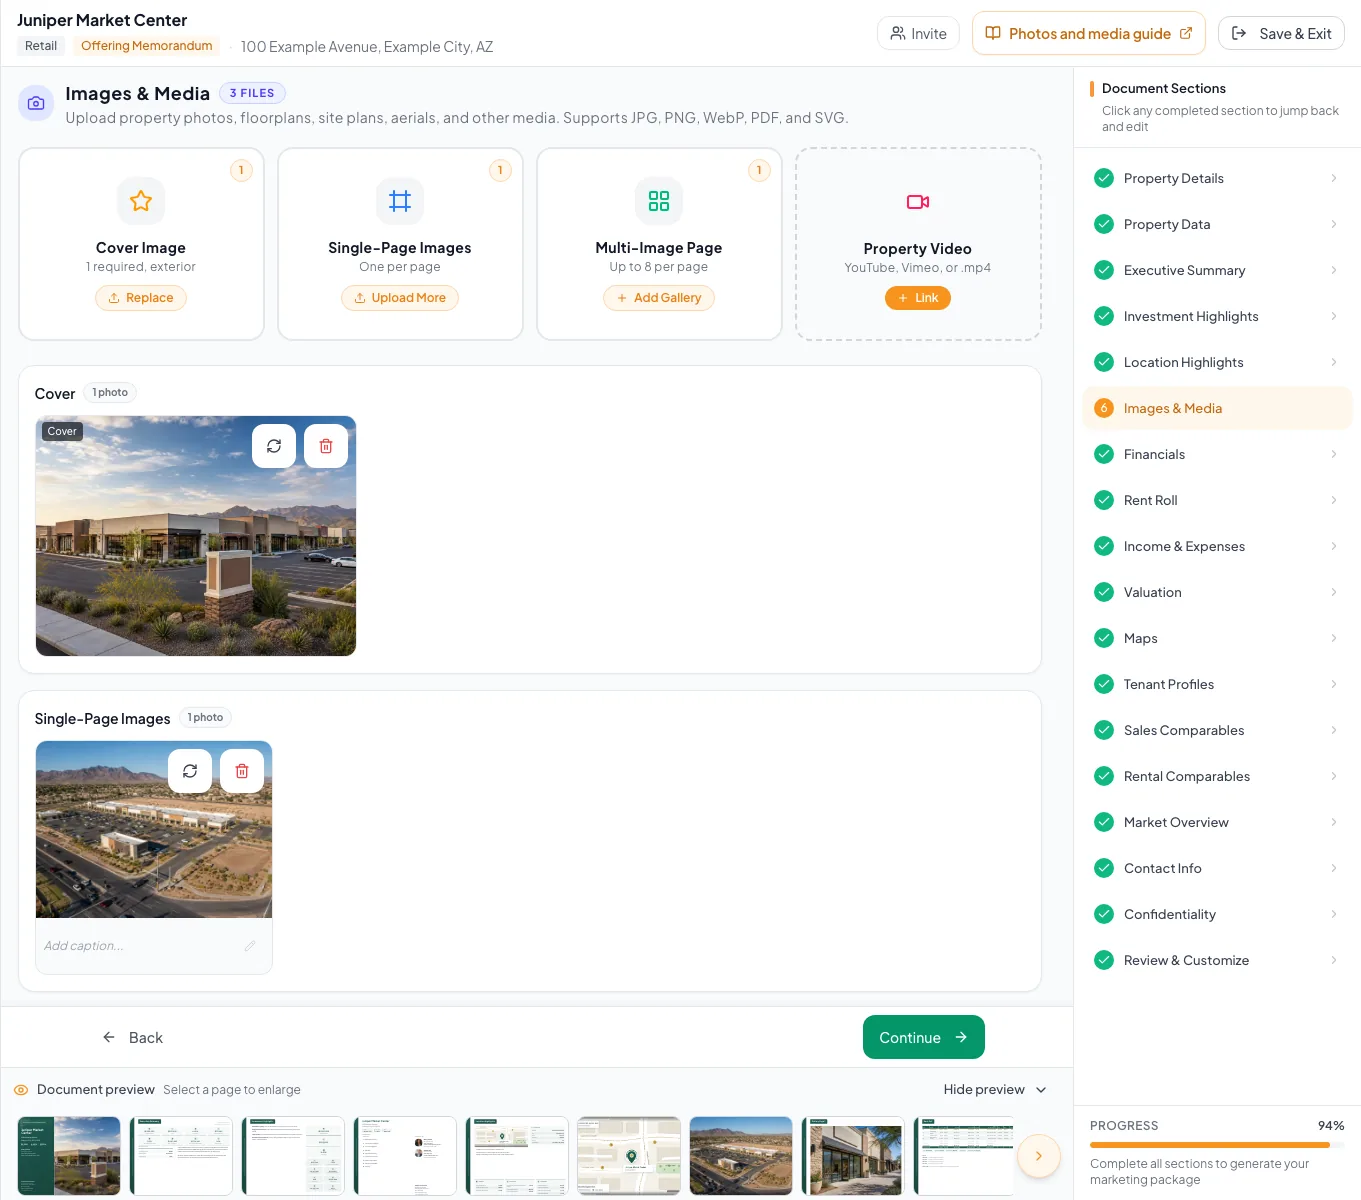
Document Wizard > Images & Media > Image card
Access
Available edit controls vary by image zone and template.
On this page
What you will accomplish
Goals
- Choose the least disruptive correction
- Keep gallery and zone structure intact
- Verify the final output after the change
| Need | Use |
|---|---|
| Different framing of the same source | Available crop or position controls |
| Corrected or higher-quality file in the same role | Replace |
| Image should not appear anywhere | Delete |
| Image belongs on another page type | Remove from the current role, then add it to the intended zone |
Choose the least disruptive image correction
Match the problem to one controlled media action, then verify every place that uses the image.
Inspect the problem
Framing, source quality, placement, or approval
Crop, replace, move, or remove
Use one action that matches the problem
Review every placement
Confirm zones, galleries, pages, and export
- Inspect the problemCrop, replace, move, or remove
- Crop, replace, move, or removeReview every placement
Before you start
Data, sources, and access to prepare
- An uploaded image
- A replacement original when replacement is required
Prepare these details
- Record every page where the image appears
- Keep the current source until the replacement succeeds
- Use an approved replacement with the correct orientation
Complete the task
- 1
Open the image card
Images & Media > image zone
Select the one image to correct.
Expected result: The image controls for that item appear.
If this does not happen: Confirm the thumbnail before choosing a destructive action.
- 2
Choose the correction
Image controls
Select the single edit, replace, or delete action needed.
Expected result: The corresponding editor or confirmation opens.
If this does not happen: Cancel if the dialog describes a broader change than intended.
- 3
Apply the edit
Image editor
Apply one supported crop, position, or orientation change.
Expected result: The editor preview shows the corrected composition.
If this does not happen: Use Reset or cancel if the subject is clipped.
- 4
Choose a replacement file
Replace image dialog
Select one replacement file when replacement is required.
Expected result: The existing image remains until the replacement finishes.
If this does not happen: Retry from the original file if processing fails.
- 5
Confirm deletion
Delete confirmation
Confirm deletion only when the image must be removed.
Expected result: The image disappears from its zones and applicable gallery configuration.
If this does not happen: Cancel and use Replace when the role should remain.
- 6
Inspect every use
Review & Customize
Open each page that used the image.
Expected result: All uses show the intended new source or no longer show the deleted item.
If this does not happen: Return to Images & Media if a template-specific placement still needs correction.
Replacement example
Verify before you finish
- The intended image changed
- Unrelated images remain in place
- Gallery membership and order are correct
- The saved crop works in the final template
- No broken image appears in the new PDF
Troubleshooting and next steps
Replacing a file appears to do nothing.
Likely cause: The replacement may still be processing or the preview may be cached.
- Wait for the operation to complete.
- Reload after saving and compare the final Review page.
Deleting one image affected a gallery page.
Likely cause: The gallery configuration referenced that image.
- Open the gallery page configuration.
- Add an appropriate replacement or revise the layout.
Final verification
- Image editor: The editor preview shows the corrected composition.
- Replace image dialog: The existing image remains until the replacement finishes.
- Delete confirmation: The image disappears from its zones and applicable gallery configuration.
- Review & Customize: All uses show the intended new source or no longer show the deleted item.
- No blocking warning, failed status, or unresolved validation message remains in the completed workflow.