Photos & Media
Upload property photos, build multi-image gallery pages, fine-tune every image with pan/zoom/rotation controls, and create branded maps with business logos and annotations.
Uploading Photos
The Photos step in the document editor is where you manage all images for your document. Images are organized into three zones, each serving a different purpose in the final PDF.
Image Zones
How to Upload
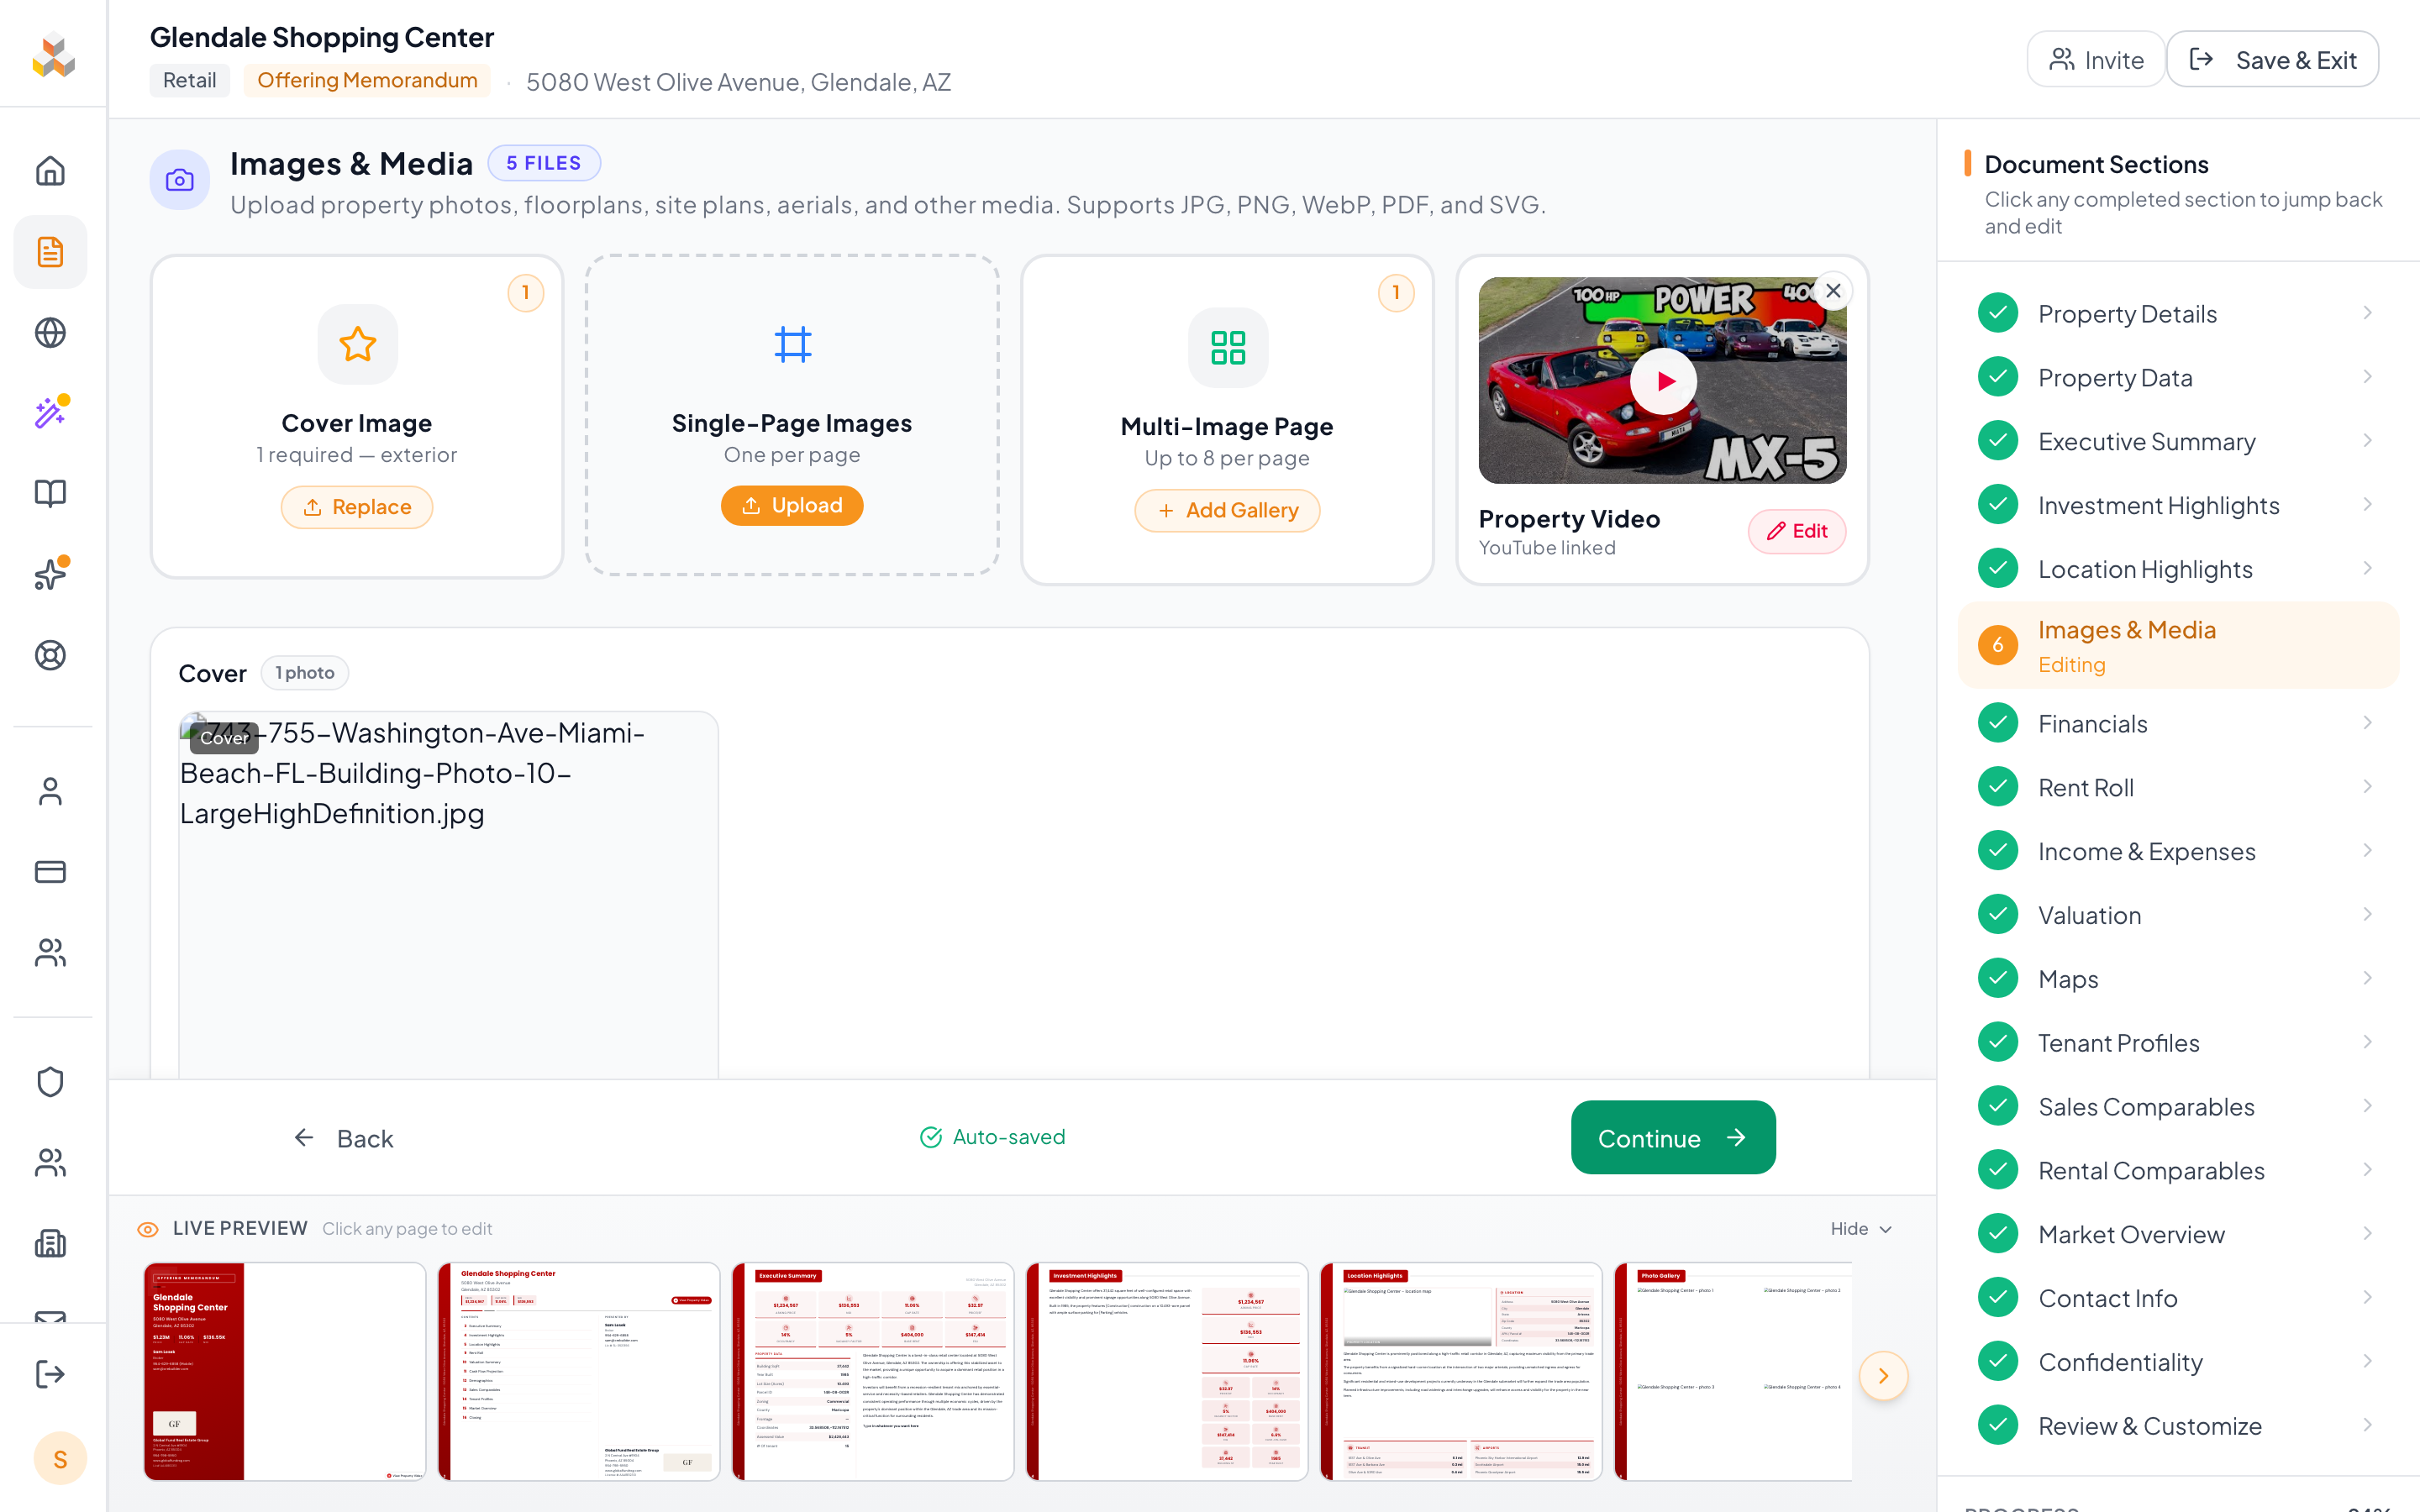
Gallery Pages
Gallery pages let you display multiple images on a single page in your document. Each gallery page can hold 2-8 images with your choice of layout style.
Layout Styles
Creating a Gallery Page
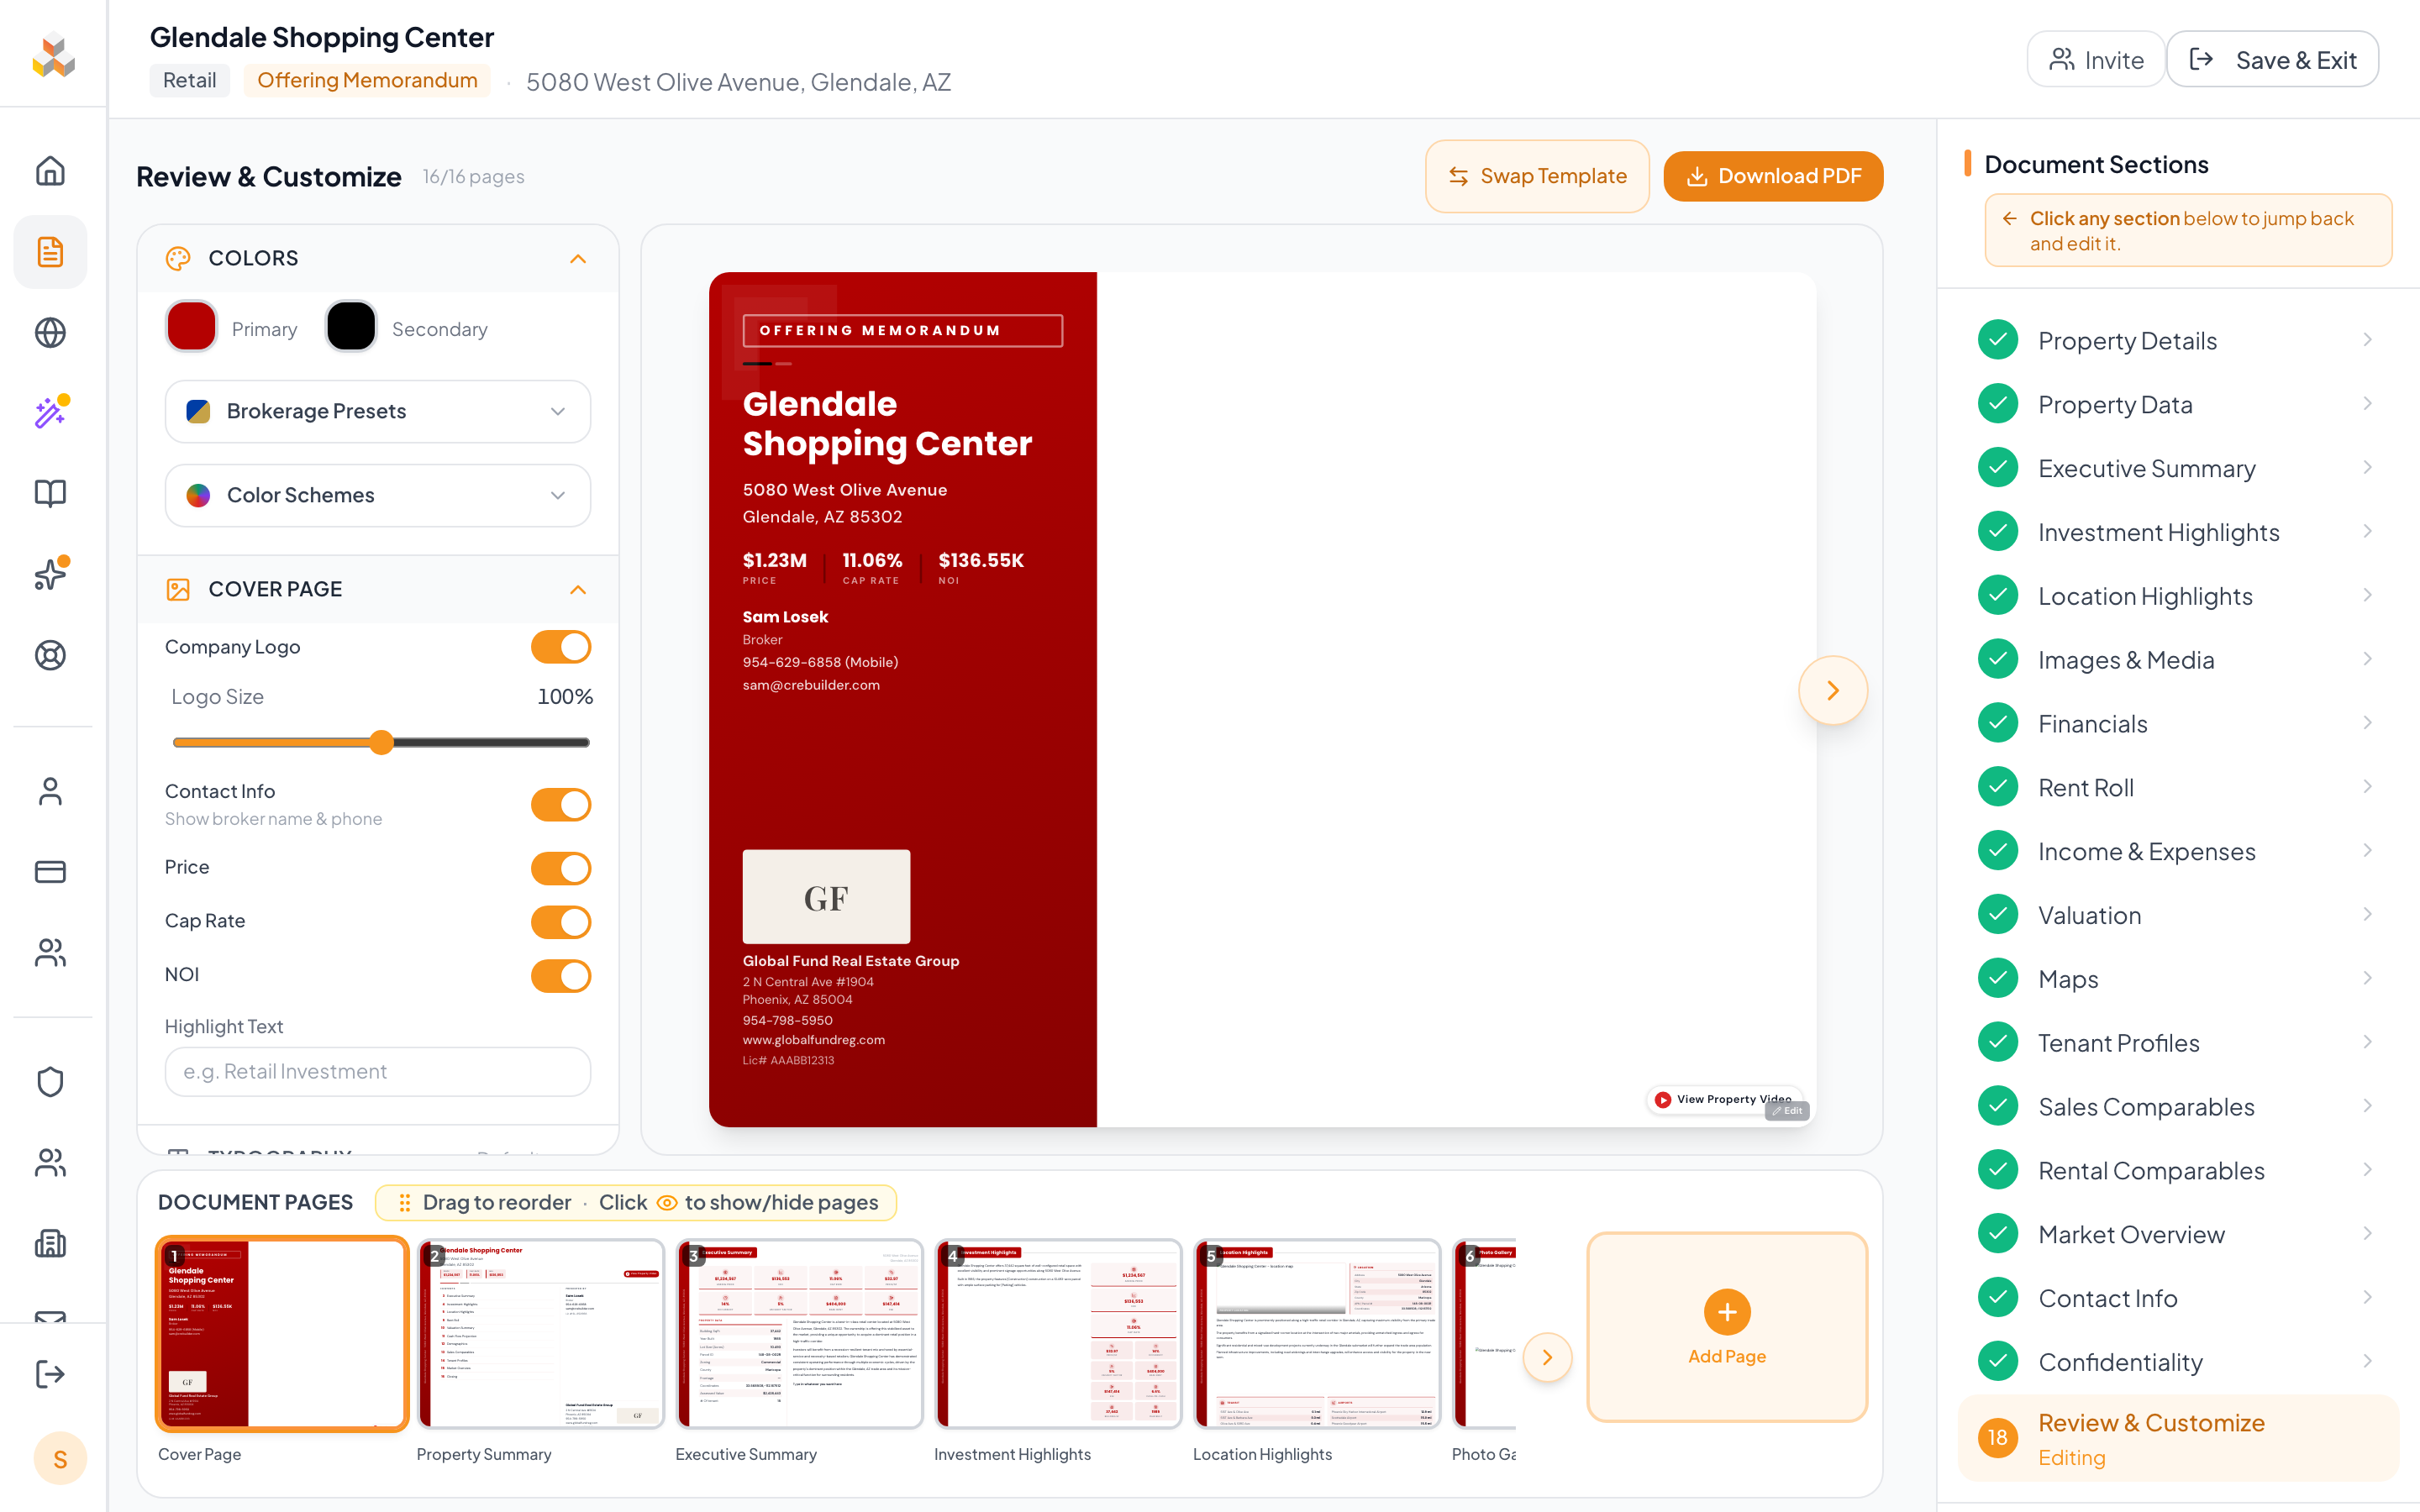
Image Editing on Review
On the Review page, hover over any image in your document to reveal the image editing toolbar. This gives you precise control over how each image appears in the final PDF without leaving the editor.
Controls Reference
Undo, Redo & Reset
How to Edit
Maps & Aerial Images
The Maps step lets you manage map pages for your document. Upload regional maps, area maps, site plans, or aerial photographs. Each map becomes its own full page.
Map Types
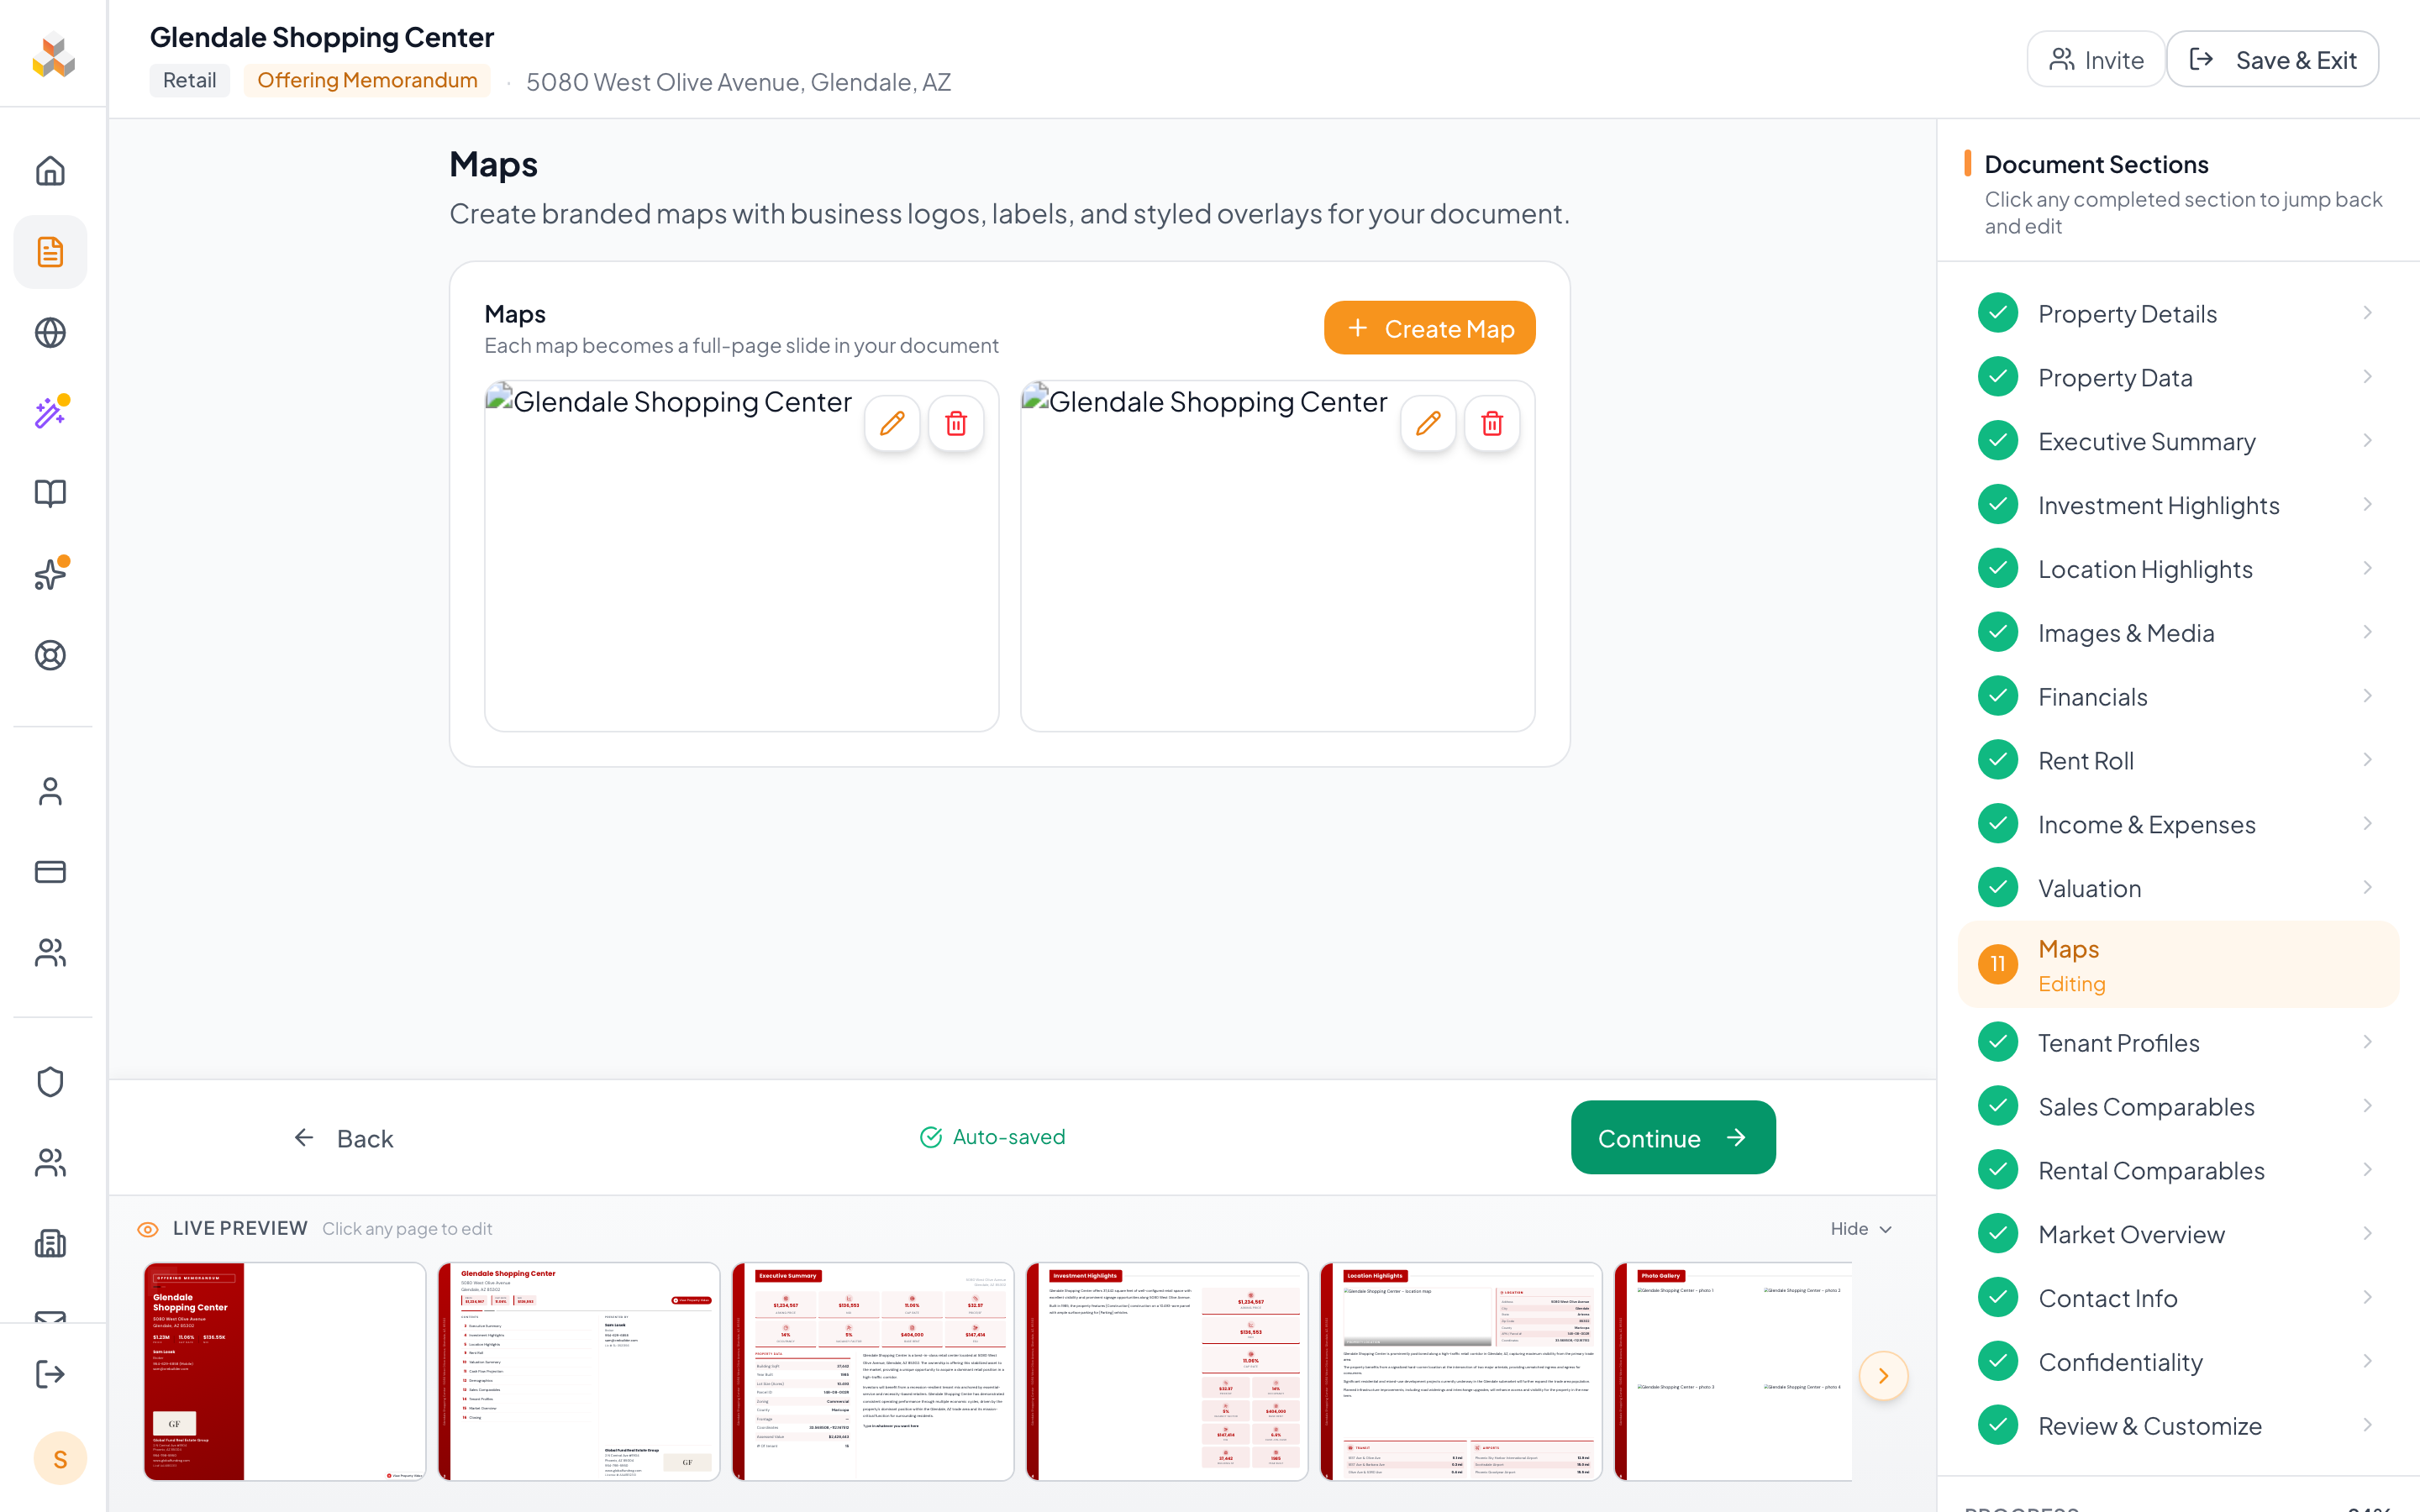
Branded Map Builder
The interactive Map Builder is a full Google Maps editor built into CREBuilder. Create professional, branded maps with business logos, custom labels, shapes, and styled overlays -- all saved as high-resolution images in your document.
Map Builder Features
More Capabilities
Toolbar Reference
The floating toolbar at the top of the map editor provides batch styling controls:
PDF Page Extraction
You can upload PDF files directly in the Photos step. CREBuilder extracts individual pages from the PDF and converts them into high-quality JPG images that you can include in your document.