Outcome
You will submit a complete, reviewable template request and know where to track its current status.
Navigation path
Custom Templates
Access
Request eligibility, included builds, pricing, file limits, and timing come from the live request page and current plan.
On this page
What you will accomplish
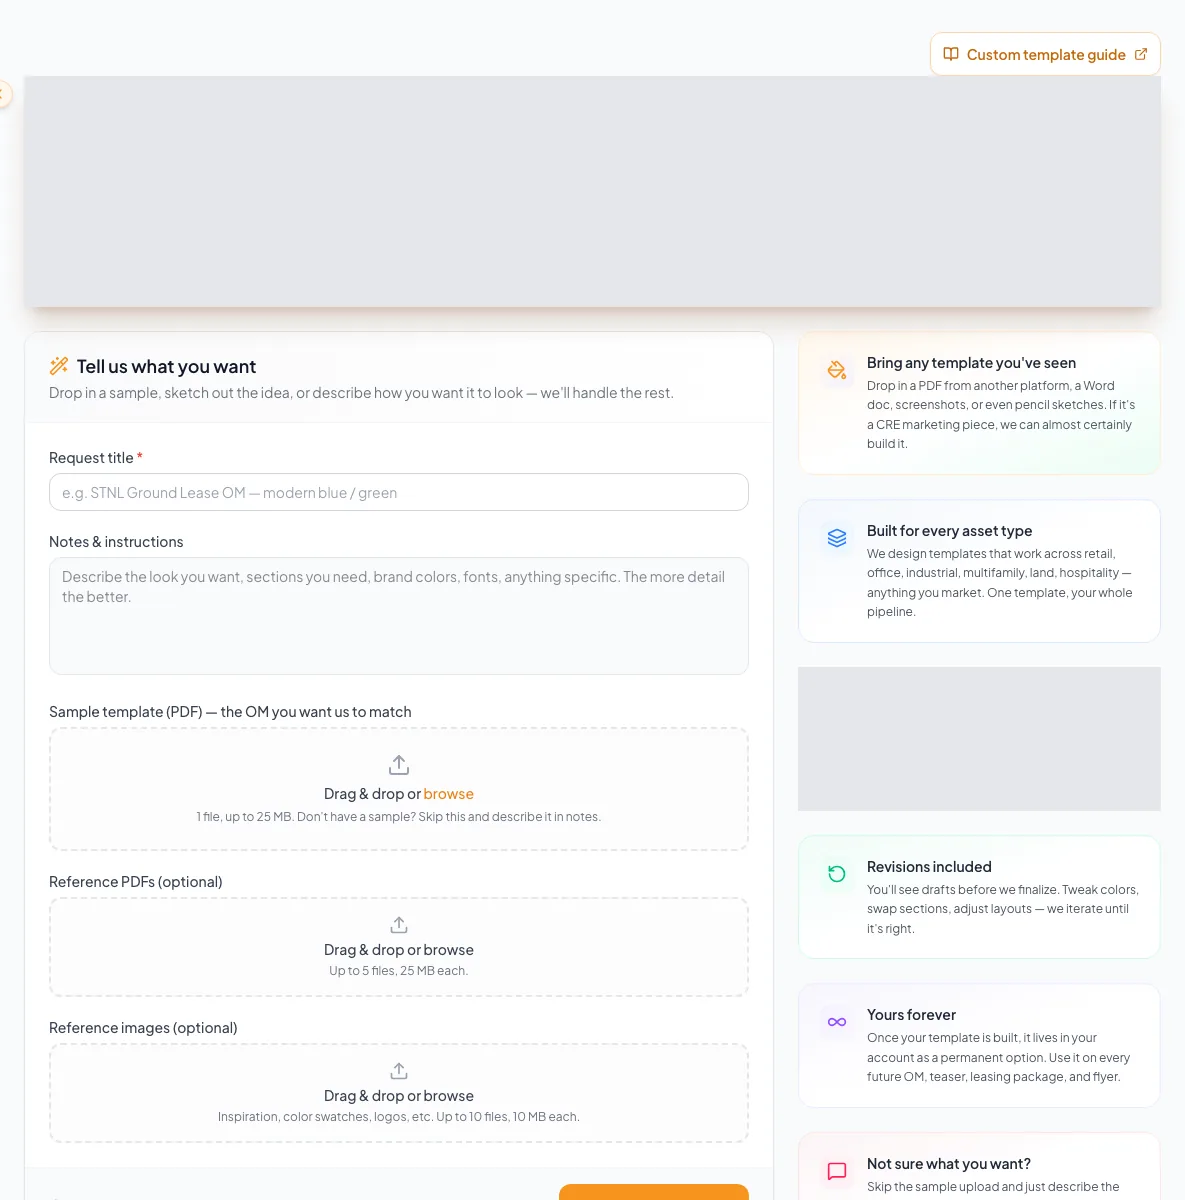
Goals
- Define one coherent design request
- Provide useful and permitted references
- Submit and track the request
Before you start
Data, sources, and access to prepare
- A signed-in account eligible to submit
- Authority to use the supplied brand and reference files
- A clear document use case
Prepare these details
- Choose one representative source PDF when available
- Gather approved logos, color swatches, and design references
- List the document and property types the design must support
- Remove confidential property information that is not necessary to explain the design
Complete the task
- 1
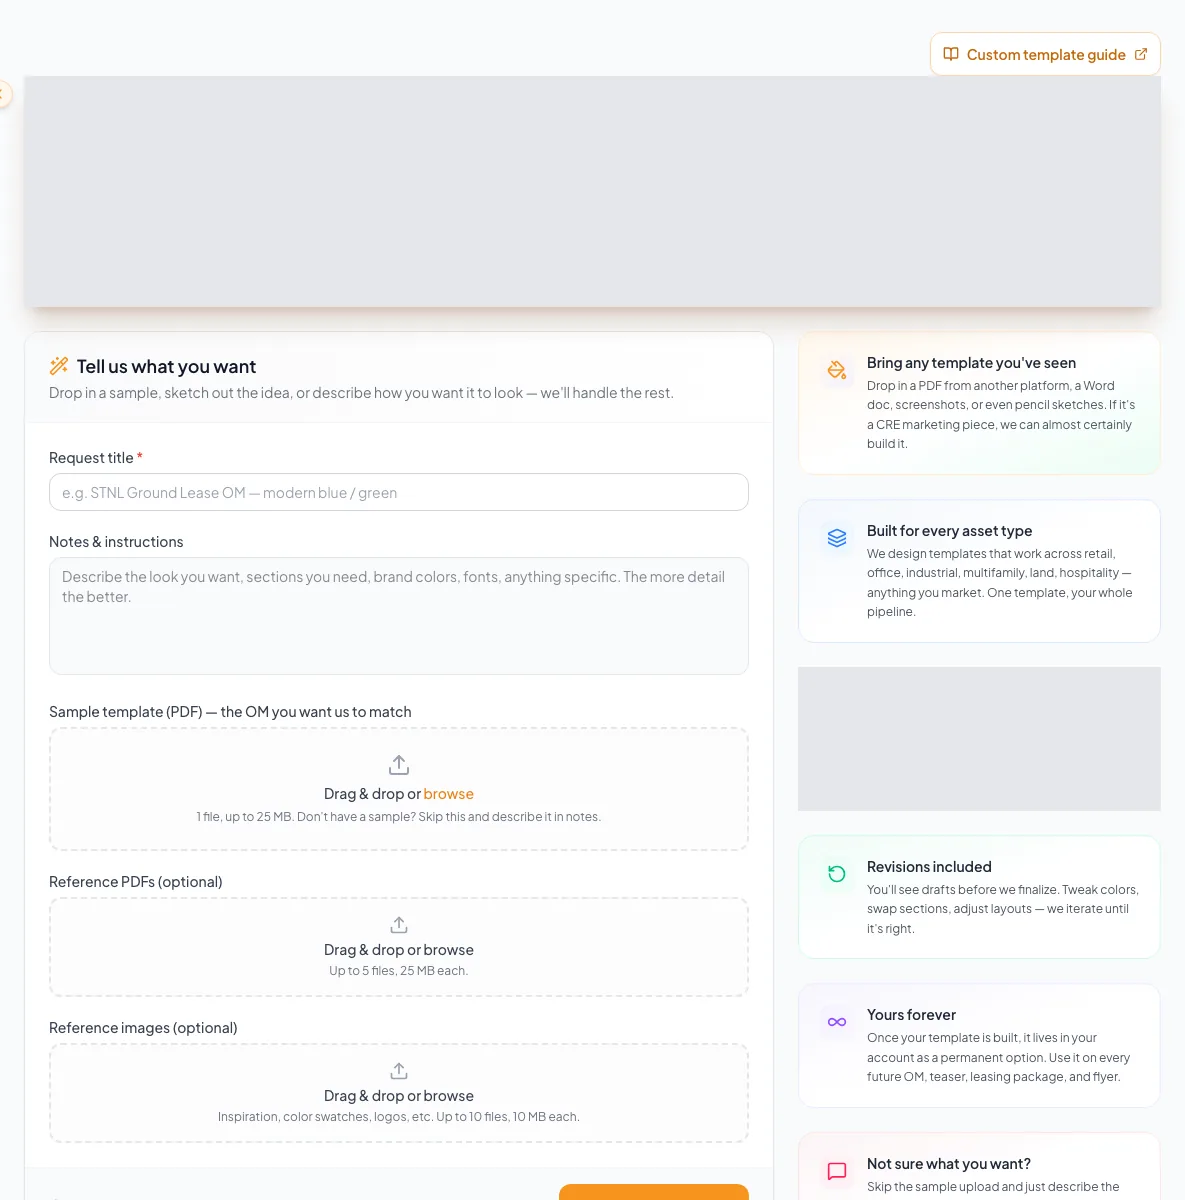
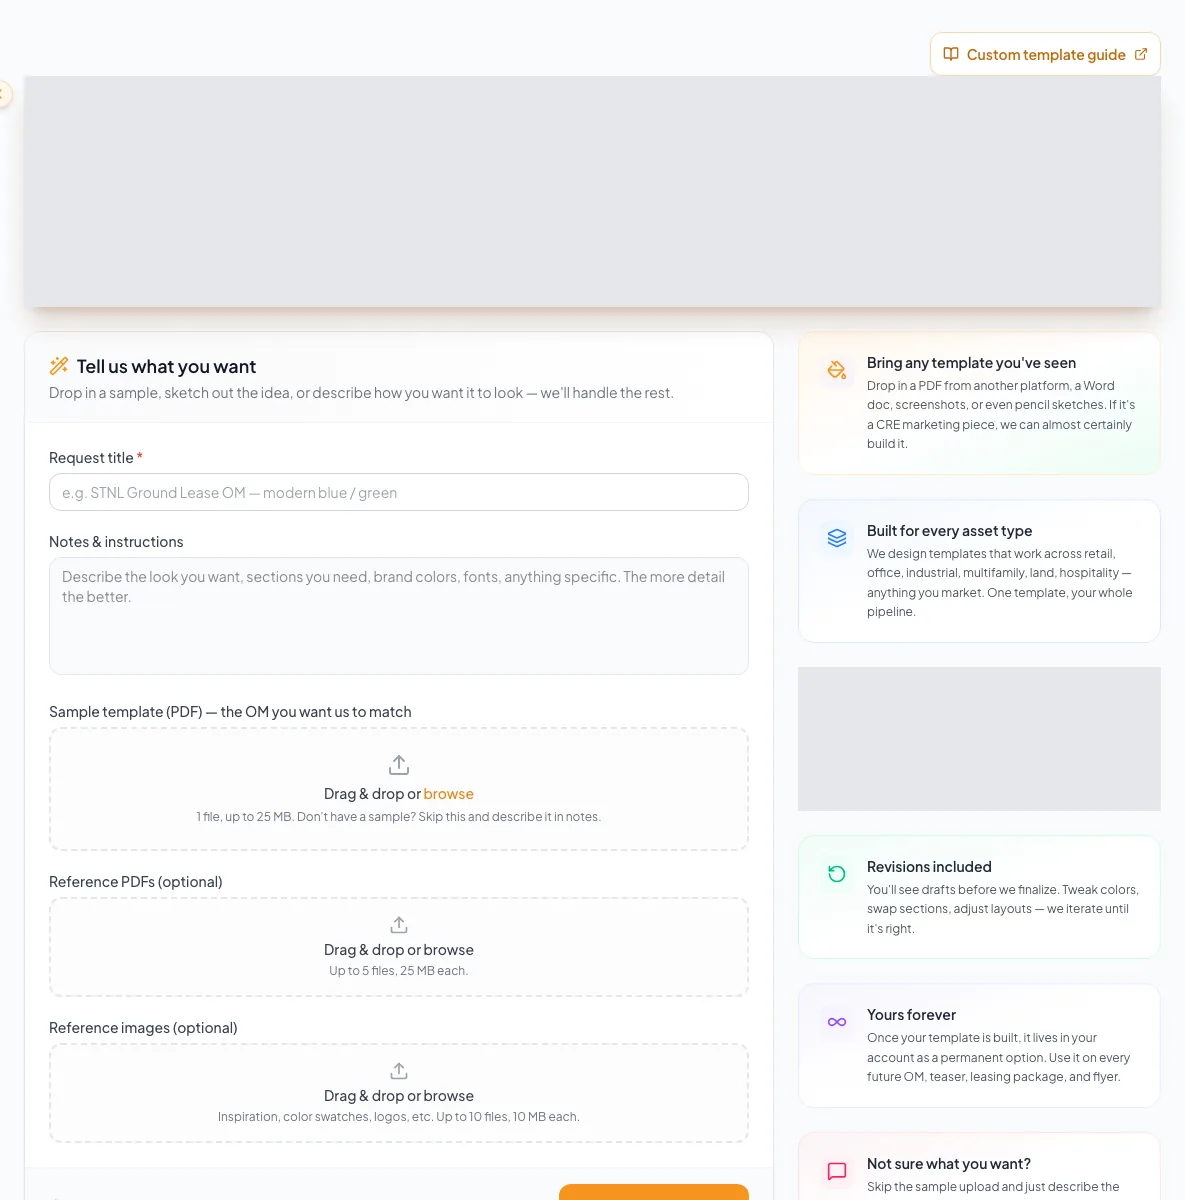
Open Custom Templates
Main navigation > Custom Templates
Open the custom-template request page.
Expected result: The eligibility state, form, limits, and request history load.
If this does not happen: Confirm the signed-in workspace if prior requests are missing.
- 2
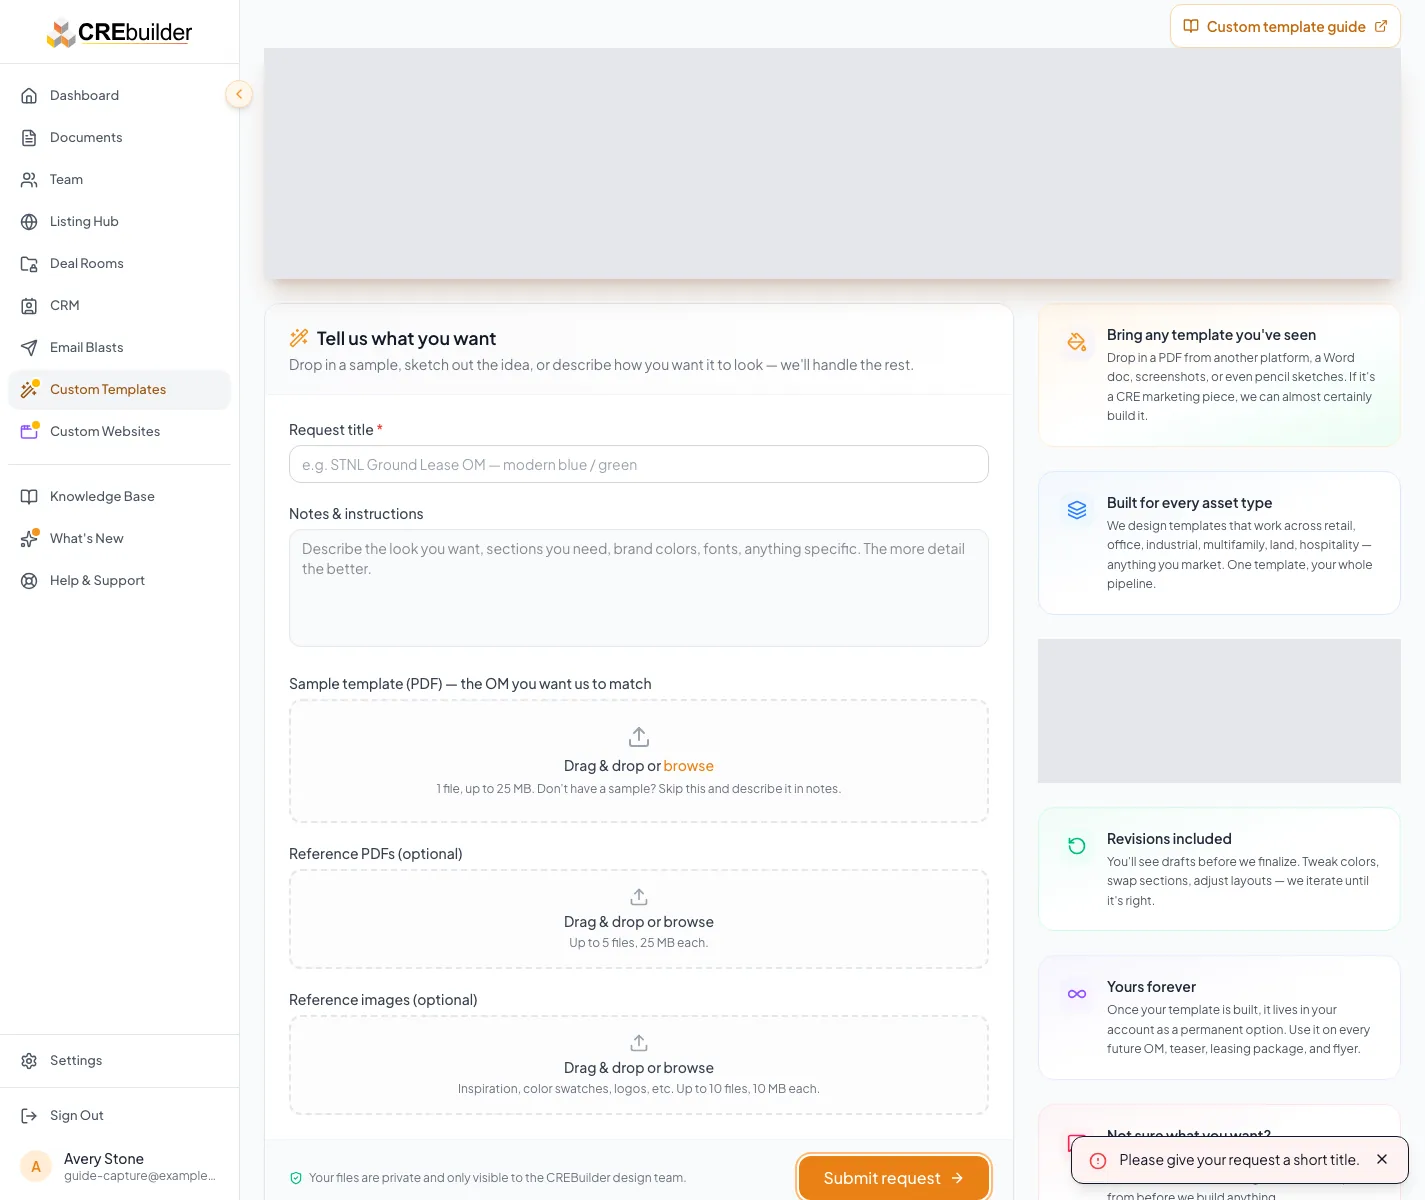
Enter the request title
Custom Templates > Request title
Enter one descriptive project title.
Expected result: The title identifies the design and use case.
If this does not happen: Use the company, package, or visual direction rather than a generic title.
- 3
Write the instructions
Custom Templates > Notes & instructions
Describe the intended look, sections, property types, and required behavior.
Expected result: The brief gives the reviewer concrete acceptance criteria.
If this does not happen: Remove conflicting references or explain which example controls each decision.
- 4
Choose the sample PDF
Custom Templates > Sample template
Select one representative PDF when available.
Expected result: The file appears in the sample area and total upload meter.
If this does not happen: Skip the sample and make the written brief more specific when no useful source exists.
- 5
Add one reference file
Custom Templates > Reference PDFs or images
Select one relevant reference file.
Expected result: The file appears in the reference list.
If this does not happen: Remove it if it duplicates or contradicts the primary sample.
- 6
Review live eligibility and limits
Custom Templates form
Read the current eligibility, file-limit, and commercial information.
Expected result: The request is within the displayed rules.
If this does not happen: Remove files or ask the account owner about plan eligibility before submitting.
- 7
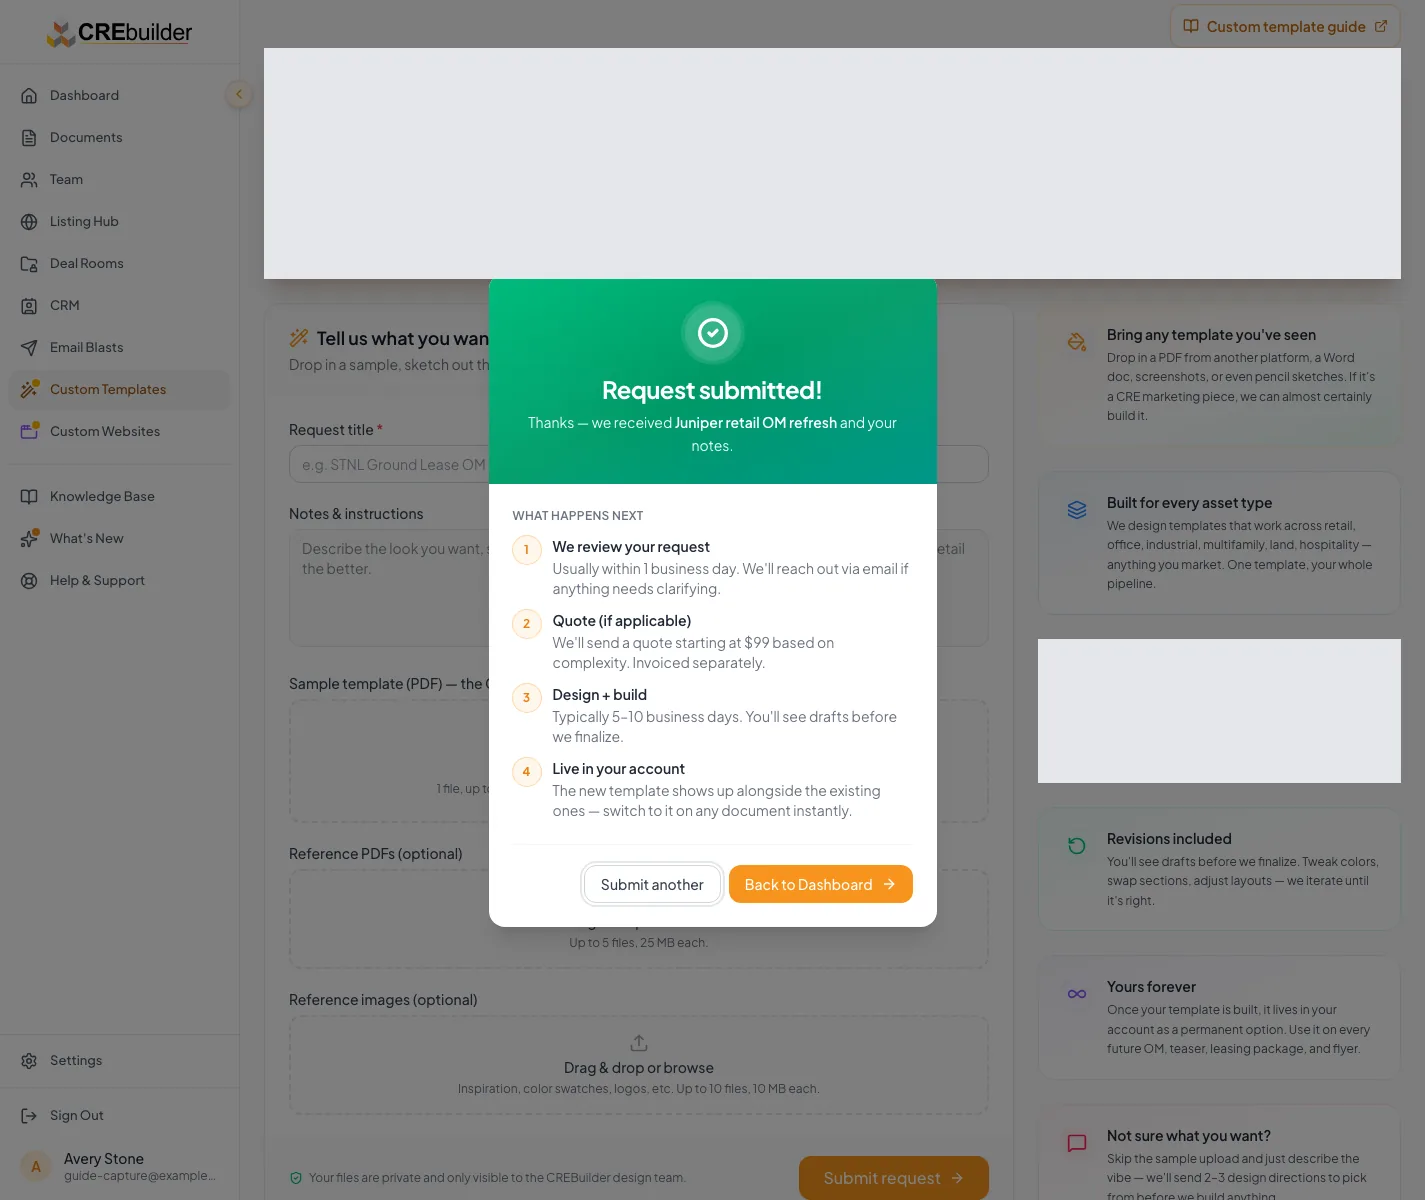
Submit the request
Custom Templates form
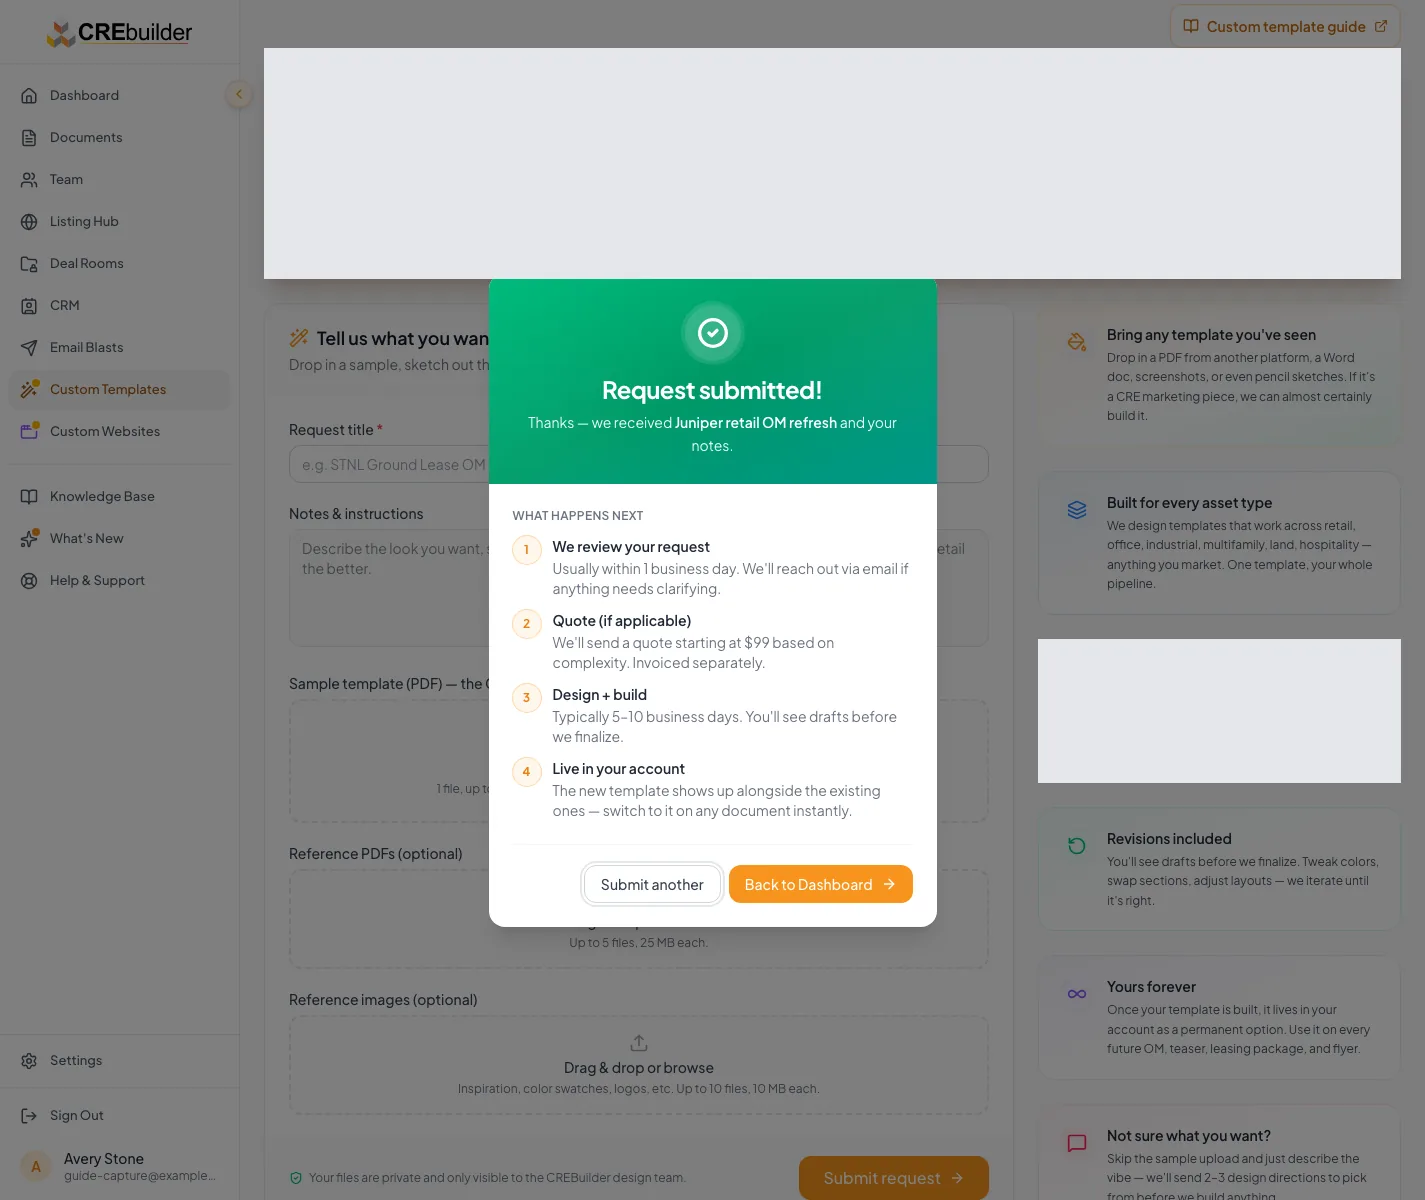
Select Submit request once.
Expected result: Upload progress completes and a request confirmation appears.
If this does not happen: Do not create a duplicate while an uncertain upload is still processing.
- 8
Track the request
Custom Templates > Request history
Open the newly submitted request row.
Expected result: The current status and available follow-up information are visible.
If this does not happen: Refresh the history after confirmation if the row has not appeared yet.
Request-field reference
| Field | Requirement | What it means | Format | Units | Save behavior | Downstream effect |
|---|---|---|---|---|---|---|
| Request title | Required | A short identifier for the design project | Plain text | Not applicable | Included in request history only after Submit request and all uploads succeed. | Identifies the project in confirmation and request history. |
| Notes and instructions | Recommended | Visual direction, required sections, content behavior, and constraints | Plain text | Characters | Included in the submitted brief only after Submit request succeeds. | Reduces clarification and conflicting interpretation during design review. |
| Sample PDF | Optional | The closest source document to match | PDF accepted by the live upload control | One file within the displayed size limit | Uploaded with the request; it is retained only after the submission confirmation succeeds. | Provides the primary layout and content reference for the requested template. |
| Reference PDFs | Optional | Additional layout or content examples | PDF files accepted by the live upload control | Files within the displayed count and total-size limits | Uploaded with the request; the retained file list appears after successful submission. | Each retained PDF should communicate a distinct layout or content requirement. |
| Reference images | Optional | Logos, swatches, inspiration, or approved visual assets | Image files accepted by the live upload control | Files within the displayed count and total-size limits | Uploaded with the request; the retained file list appears after successful submission. | Supplies approved visual direction or assets for the template review. |
Required means the field is needed to complete or support this workflow. Some screens allow a draft to save before every required item is complete. The steps and troubleshooting call out controls the product actively blocks.
Verify before you finish
- The title distinguishes the project
- Notes state supported document and property types
- Reference files are permitted and relevant
- Upload total is within the live limit
- Confirmation and history show the request
Troubleshooting and next steps
Submit request is disabled.
Likely cause: The account may be ineligible, the required title may be missing, or files may exceed a live limit.
- Read the eligibility message.
- Complete the required title.
- Remove files until the form is within the displayed limit.
The upload fails.
Likely cause: A file may be too large, unsupported, damaged, or interrupted.
- Review the current file limits.
- Export a fresh permitted copy.
- Retry once with fewer files.
Final verification
- Custom Templates > Reference PDFs or images: The file appears in the reference list.
- Custom Templates form: The request is within the displayed rules.
- Custom Templates form: Upload progress completes and a request confirmation appears.
- Custom Templates > Request history: The current status and available follow-up information are visible.
- No blocking warning, failed status, or unresolved validation message remains in the completed workflow.